How Ivoclean Works 

March 1, 2024 Lee Ann Brady

How Ivoclean Works 

Lee Ann Brady, DMD 

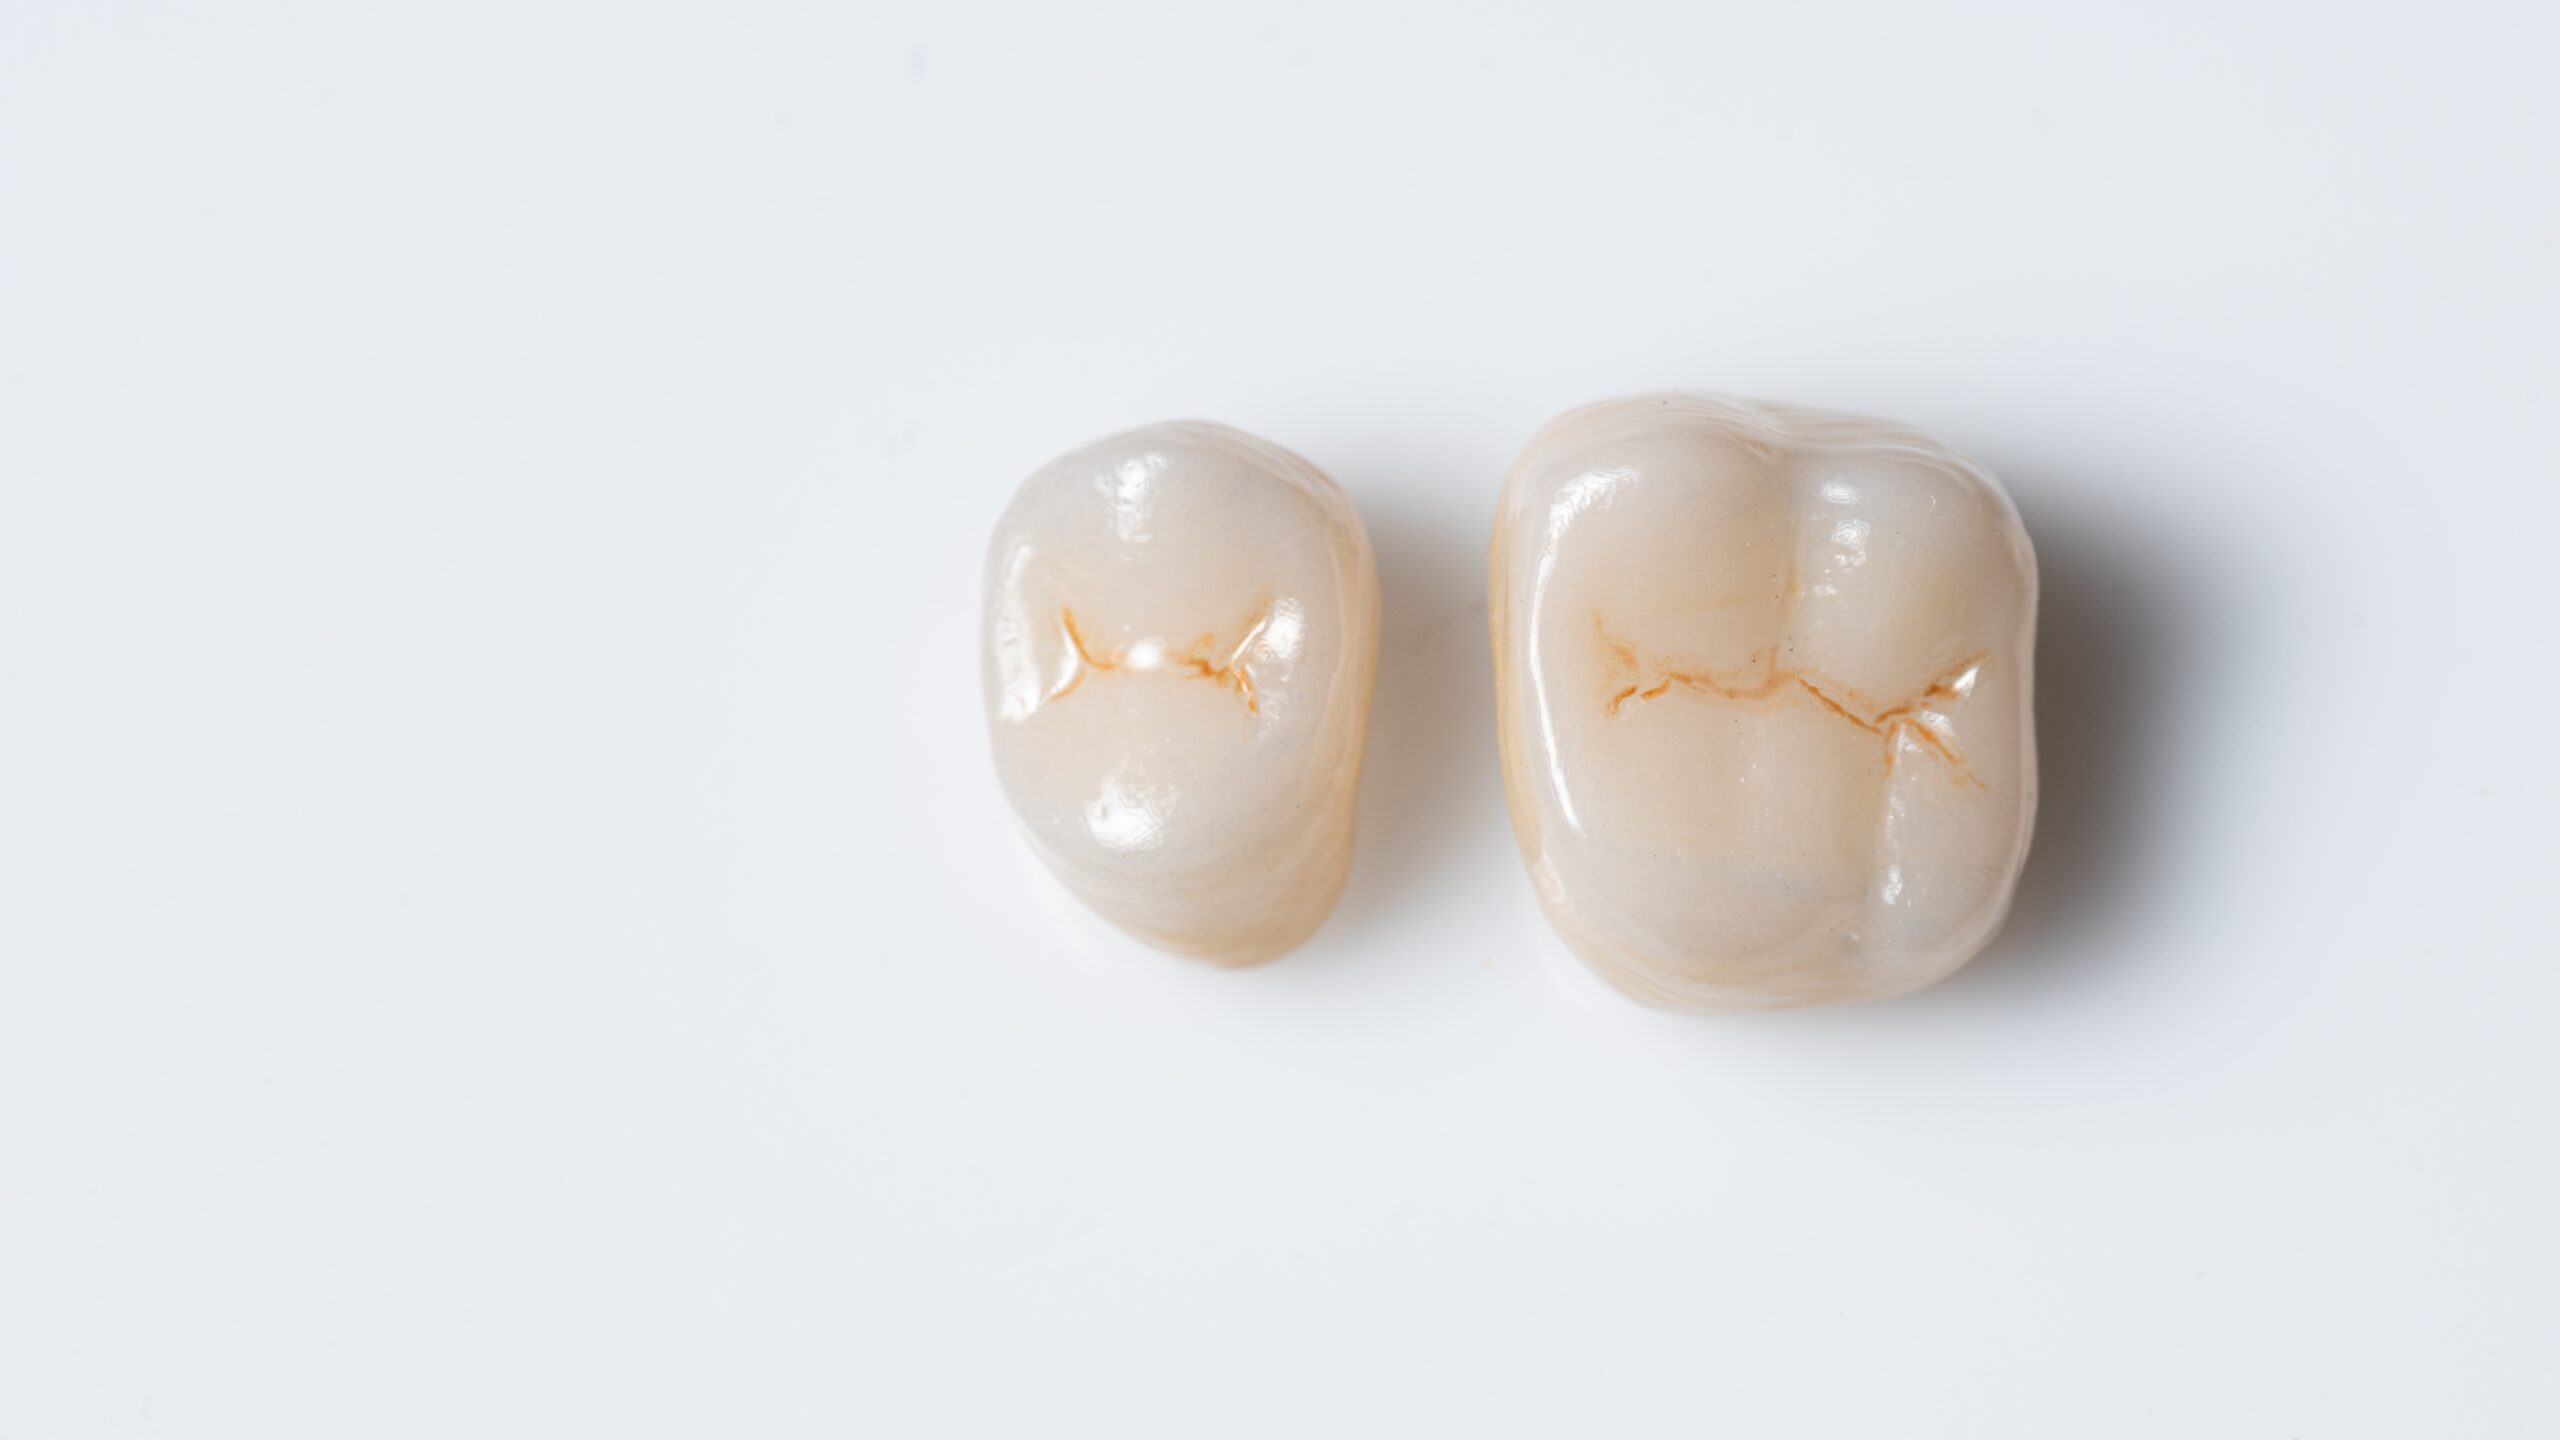
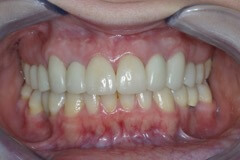
Saliva on the inside of restoration surfaces greatly reduces the bond strength between the porcelain and the cement but during the intraoral try-in process, it is inevitable that there will be saliva contamination. 

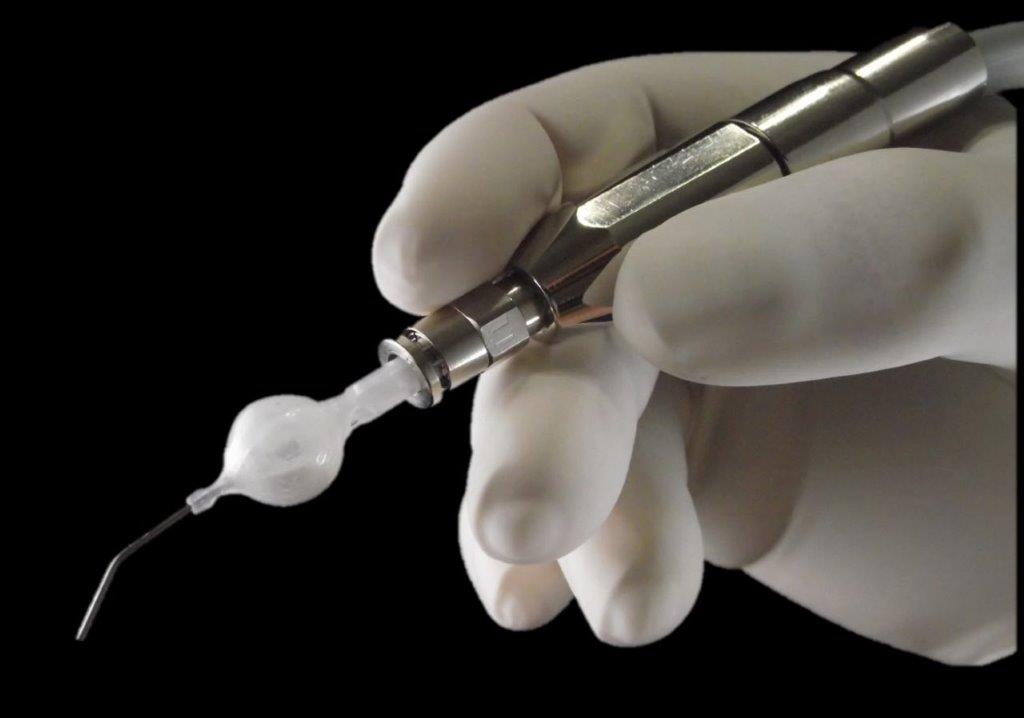
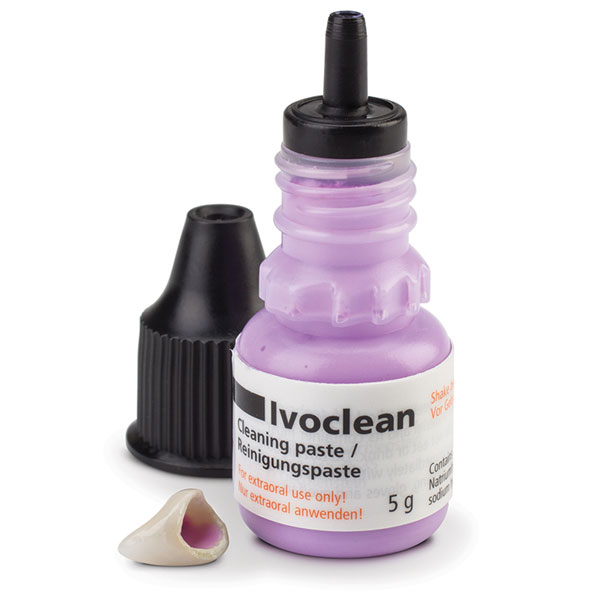
Most dentists I know use Ivoclean from Ivoclar to clean their indirect restorations after try-in. It is an incredible material for removing saliva and other contaminants that the restoration is exposed to during the intraoral try-in process.  

We trust Ivoclean to fully remove resin or traditional cements, as well as saliva and red blood cells to produce a super pristine surface.  

Did you ever wonder how Ivoclean works to get rid of saliva and all the other debris that gets on the inside of a ceramic restoration or metal base?  

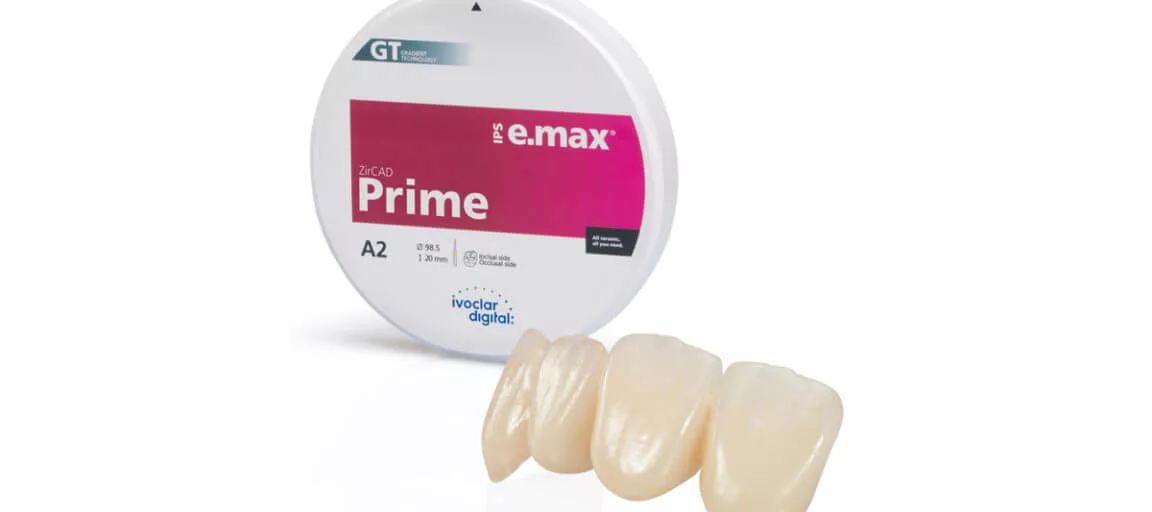
Intraoral contaminants contain lots of phosphates. Ivoclean contains suspended zirconia particles that have an affinity for phosphates. The zirconia particles pull towards them the phosphate-laden particles, so when you rinse off the Ivoclean, the intraoral debris is rinsed away leaving a clean surface. 

Note: We don’t want to expose zirconia restorations to something that contains phosphates or includes phosphoric on the label because there is a strong attraction at an elemental level between zirconia and phosphate particles. To neutralize the ionic bond between saliva phosphates and zirconia, we need an alkaline solution such as potassium hydroxide (KOH). This is the active ingredient in products such as ZirClean from BISCO. 

Related Course

Worn Dentition: Direct & Indirect Adhesive Management Through a Non-Invasive Approach

DATE: October 24 2025 @ 8:00 am - October 25 2025 @ 2:30 pm

Location: The Pankey Institute

CE HOURS: 15

Dentist Tuition : $ 2595

Single Occupancy with Ensuite Private Bath (per night): $ 345

Enhance Restorative Outcomes The main goal of this course is to provide, indications and protocols to diagnose and treat severe worn dentition through a new no prep approach increasing the…

Learn More>

About Author

User Image
Lee Ann Brady

FIND A PANKEY DENTIST OR TECHNICIAN

I AM A
I AM INTERESTED IN

VIEW COURSE CALENDAR

Restorative Notes on Bonding to Sclerotic Dentin and Removing All-Ceramic Crowns

February 7, 2024 Lee Ann Brady

Restorative Notes on Bonding to Sclerotic Dentin and Removing All-Ceramic Crowns 

By Lee Ann Brady, DMD 

Bonding to Sclerotic Dentin 

Bonding to sclerotic dentin is difficult, if not close to impossible. If the lion’s share of the tooth’s surface is sclerotic, you may not have the longevity that you’re hoping for. I’m specifically thinking of some lower anterior restorative cases I’ve seen over the years, where the veneers just haven’t held up and we’ve had to go to full coverage. 

I don’t trust some of the self-etching adhesives to result in a strong bond on sclerotic dentin, even the newer ones in the eighth generation. Fortunately, one thing we don’t need to worry about is sensitivity because the dental tubules are closed. Since I’m not worried about sensitivity, I can apply the same techniques I would with enamel with the intent of improving the probability of a strong bond. I can do a light prep, get rid of the sclerotic surface, and etch it with phosphoric acid for 25 or 30 seconds. Alternatively, I can use 30- to 50-micron aluminum oxide in an abrasion unit.  

Removing All-Ceramic Crowns 

Removing dental crowns can be a delicate and time-consuming procedure. In a world of so many different materials, it’s helpful to have an idea of which bur to use and how long removing the crown could take. One of the biggest challenges is determining whether a crown is a lithium disilicate or zirconia restoration. The radiograph and visual inspection will give us clues but afterwards, we must go through a process to understand what may be involved. 

Our First Clue: Zirconia looks like metal on a radiograph, and lithium disilicate looks radiolucent like natural tooth structure.   

Our Second Clue: If the crown is partial coverage, it’s much more likely to be bonded and I plan to prep down the entire restoration.  

Lithium disilicate restorations are often easier to cut through or section but they could be bonded and impossible to remove in pieces. Even if we can cut four pieces, we may have extensive prepping to do.  

On the other hand, zirconia can be harder to cut through, especially the 3y or 4y variety. But at least once you get to the cement layer, you can normally break it into pieces and remove them instead of having to extensively prep the entire tooth.  

If the restoration is full coverage, I can easily remove it in sections. In this case, I attempt to make my cuts all the way from buccal to lingual across the occlusal surface without bothering to stop. At this stage, I can pick up a crown remover and apply some general pressure to crack it off. If the crown is not budging at all, I assume it is bonded to the tooth, and the next thing I do is pick up a big flat-top diamond to do my occlusal reduction as if I were prepping a natural tooth. Once all the occlusal is off the glass, the pieces on the buccal, lingual, and interproximal fall off. 


Related Course

Worn Dentition: Direct & Indirect Adhesive Management Through a Non-Invasive Approach

DATE: October 24 2025 @ 8:00 am - October 25 2025 @ 2:30 pm

Location: The Pankey Institute

CE HOURS: 15

Dentist Tuition : $ 2595

Single Occupancy with Ensuite Private Bath (per night): $ 345

Enhance Restorative Outcomes The main goal of this course is to provide, indications and protocols to diagnose and treat severe worn dentition through a new no prep approach increasing the…

Learn More>

About Author

User Image
Lee Ann Brady

FIND A PANKEY DENTIST OR TECHNICIAN

I AM A
I AM INTERESTED IN

VIEW COURSE CALENDAR

Do You Know What Type of Zirconia You Are Using? 

September 5, 2023 Lee Ann Brady DMD

We use the words “multilayer” and “multilayered” to describe lots of different materials from different manufacturers. If your lab tells you they use multilayered zirconia on a restoration or abutment, do you know what you are getting?

One of the ways we use the word multilayered is to describe a puck of zirconia that has two different types of zirconia.

Some of the pucks are a layer of 3y (the strongest but least aesthetic zirconia) with a layer of 5y (the weakest but most aesthetic zirconia). The laboratory technician puts the restoration design in the puck so that the 5y is on the facial of the restoration where you can see it and the 3y is on the incisal edge and lingual.

There are also pucks that are 4y zirconia layered with 5y zirconia. The 4y zirconia is a middle grade of both strength and aesthetics. In this case, the 5y is on the facial and the 4y is on the incisal edge and lingual.

Thus, there are two different ways to mix strength and aesthetics in one puck of zirconia and both variations are called “multi-layered.”

Complicating this even more, we use “multi-layered” to describe layers of chroma gradient or translucency. The laboratory technician can put the design pattern in the puck to achieve different gradient effects, but the restoration is all of one strength (one type of zirconia).

One of the challenges today with zirconia is that there is no place on a laboratory prescription to specify one of these varieties, and it needs to be clarified when communicating with your lab technician. Ask what your lab technician means by “multilayered zirconia,” and communicate clearly the multilayering you want used.

Related Course

Worn Dentition: Direct & Indirect Adhesive Management Through a Non-Invasive Approach

DATE: October 24 2025 @ 8:00 am - October 25 2025 @ 2:30 pm

Location: The Pankey Institute

CE HOURS: 15

Dentist Tuition : $ 2595

Single Occupancy with Ensuite Private Bath (per night): $ 345

Enhance Restorative Outcomes The main goal of this course is to provide, indications and protocols to diagnose and treat severe worn dentition through a new no prep approach increasing the…

Learn More>

About Author

User Image
Lee Ann Brady DMD

Dr. Lee Ann Brady is passionate about dentistry, her family and making a difference. She is a general dentist and owns a practice in Glendale, AZ limited to restorative dentistry. Lee’s passion for dental education began as a CE junkie herself, pursuing lots of advanced continuing education focused on Restorative and Occlusion. In 2005, she became a full time resident faculty member for The Pankey Institute, and was promoted to Clinical Director in 2006. Lee joined Spear Education as Executive VP of Education in the fall of 2008 to teach and coordinate the educational curriculum. In June of 2011, she left Spear Education, founded leeannbrady.com and joined the dental practice she now owns as an associate. Today, she teaches at dental meetings and study clubs both nationally and internationally, continues to write for dental journals and her website, sits on the editorial board of the Journal of Cosmetic Dentistry, Inside Dentistry and DentalTown Magazines and is the Director of Education for The Pankey Institute.

FIND A PANKEY DENTIST OR TECHNICIAN

I AM A
I AM INTERESTED IN

VIEW COURSE CALENDAR

Utilizing Chair-side Air Abrasion

January 13, 2019 Lee Ann Brady DMD

Chair-side air abrasion has numerous advantages, especially today when we use adhesive retention so much of the time.

The advantages for many years have been outweighed by the logistic challenges. With the advent of small, lightweight, easy to use air abrasion handpieces this is no longer true. When I became aware of the etchmaster I was skeptical, but I am now a believer and use air abrasion int he operatory all day long.

The Clinical Applications

One of the first things that many of us will utilize air abrasion for is to “etch” zirconia restorations for bonding during final seating. The only way to prepare the inside of a zirconia restoration is with 30-50 micron aluminum oxide. The particle size and type is critical. The ideal pressure is 1 bar (15psi). Next on my list is to clean tooth preparations prior to bonding and cementation. To me there is no better way to assure the removal of temporary cement and prepare a tooth for maximal adhesive retention than with 30 micron aluminum oxide.

My list goes on as I have started to prepare small class one cavity preparations using small glass beads in my chair-side unit. Cleaning out the occlusal grooves prior to a sealant and etching un-prepped enamel for anterior esthetic composite margins are other uses. In addition sodium bicarbonate can be used to remove stain. Now that I have a convenient, easy to use unit, I find more and more reasons everyday.

Air Abrasion Made Easy

When I first began to experiment with air abrasion the biggest challenge was the equipment and managing the logistics.  The Etchmaster is a small 3 to 4 inch attachment that connects to either a 3 or 4 hole line on your unit. The pressure is precisely controlled, for great clinical outcomes, and it means the patients mouth is not full of powder when you are done. The powders come in pre-filled tips that slide into the top of the hand-piece. You can choose from a variety of sizes and particle types and sizes. This means no more filling a reservoir with powder, wondering if you have too little or too much. It also means not wondering what particle type and size is in the reservoir the next time you go to use the unit.

Have you explored the clinical advantages of air abrasion? How has this been beneficial in your practice?

Related Course

The Pankey Assistant’s Experience

DATE: July 11 2024 @ 8:00 am - July 13 2024 @ 3:00 pm

Location: The Pankey Institute

CE HOURS: 17

Regular Tuition: $ 1950

night with private bath: $ 290

This “can’t miss” course will empower Dental Assistants to bring their skills to excellence! During this dynamic hands-on course, led by Pankey clinical team member, Sandra Caicedo, participants will learn…

Learn More>

About Author

User Image
Lee Ann Brady DMD

Dr. Lee Ann Brady is passionate about dentistry, her family and making a difference. She is a general dentist and owns a practice in Glendale, AZ limited to restorative dentistry. Lee’s passion for dental education began as a CE junkie herself, pursuing lots of advanced continuing education focused on Restorative and Occlusion. In 2005, she became a full time resident faculty member for The Pankey Institute, and was promoted to Clinical Director in 2006. Lee joined Spear Education as Executive VP of Education in the fall of 2008 to teach and coordinate the educational curriculum. In June of 2011, she left Spear Education, founded leeannbrady.com and joined the dental practice she now owns as an associate. Today, she teaches at dental meetings and study clubs both nationally and internationally, continues to write for dental journals and her website, sits on the editorial board of the Journal of Cosmetic Dentistry, Inside Dentistry and DentalTown Magazines and is the Director of Education for The Pankey Institute.

FIND A PANKEY DENTIST OR TECHNICIAN

I AM A
I AM INTERESTED IN

VIEW COURSE CALENDAR

Case Study: All Porcelain Restorations

February 20, 2018 Glenda Owen DDS

Dive into this case for a look at Dr. Owen’s thought process and treatment protocol leading to porcelain restorations. 

Angela was 27 when she came to us asking about options to improve her smile. She was getting married within a year. She hated the appearance of the bridge #3-6 that had been placed in high school. It was repaired at the buccal margin of #6 the day of delivery. She also said she wanted to avoid implants because of time issues and she didn’t want more crowns.

Patient Background

Angela was congenitally missing #4, 7, 10, 12, 13, 20, and 29. In the past, she had implants to replace the lower bicuspids and said the process took too long. Her previous dentist had placed two upper bridges – #3-7 with pontics on #4 and #7 and #14-10 with pontics on #13 and #10. The space for #12 did not exist.


Treatment Plan

I noticed her narrow central incisors compared to her laterals and the general contour and color of the bridges. I knew we could improve her smile with all porcelain restorations. Implants to replace missing teeth and veneers on the centrals would make a difference. We did a wax up that she took home to study, comparing it to the model of her existing restorations. She visited the periodontist who would do the implants and I showed her lots of photos of other cases similar to hers.

Creating Porcelain Restorations

Ultimately Angela agreed with our plan. She had implants replacing #7, 10, and 13. We used Zirconia abutments and e.max crowns, as well as an e.max crown for #14. She opted for a Zirconia bridge #3-5. While she was healing, we made provisional bridges, including the cantilevers for the laterals. She was hesitant about the veneers on #8 and #9, but before we began I removed the bridges and created a trial restoration with the wider veneers and proper bridge contours. I took photos and let her think about it before she agreed. She got married with a beautiful new smile.   

What interesting cases are you currently working on? 

Related Course

E1: Aesthetic & Functional Treatment Planning

DATE: May 16 2024 @ 8:00 am - May 19 2024 @ 2:30 pm

Location: The Pankey Institute

CE HOURS: 39

Dentist Tuition: $ 6500

Single Occupancy Room with Ensuite Bath (Per Night): $ 290

This Course Is Sold Out! Transform your experience of practicing dentistry, increase predictability, profitability and fulfillment. The Essentials Series is the Key, and Aesthetic and Functional Treatment Planning is where your journey…

Learn More>

About Author

User Image
Glenda Owen DDS

Dr. Glenda Owen practices in Houston, Texas where she lives with her husband Kevin. She is a graduate of the University of Texas Dental Branch in Houston. Dr. Owen is a faculty member and member of the Board of Directors for The Pankey Institute.

FIND A PANKEY DENTIST OR TECHNICIAN

I AM A
I AM INTERESTED IN

VIEW COURSE CALENDAR