Positioning Peg Laterals & Undersized Lateral Incisors for Optimal Aesthetics
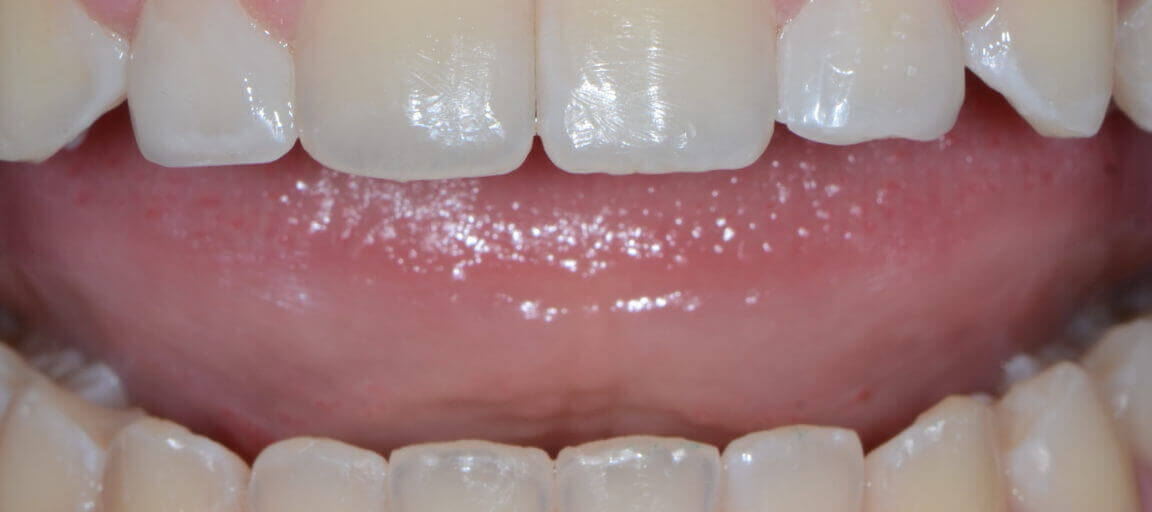
When restoring peg laterals and laterals that are undersized, great goals are to optimize the final aesthetics and not have to do any tooth preparation prior to adding restorative material. In this blog, I’d like to discuss where we should have the orthodontist optimally position the laterals prior to restoration.
True Peg Laterals
In the case of a true peg lateral, I think of the tooth like I would an implant abutment. In my mind’s eye, I visualize the tooth as a fixture with an abutment on it.
When I talk with the orthodontist, I communicate that I want a minimum of 1 mm and a maximum of 1.5 mm of space between the mesial on the lateral incisor and the distal on the central incisor.
If there is excess space, it is going to be on the distal. We always hide excess space or insufficient space on the distal side of an upper anterior tooth. We always want to perfect the effect on the mesial so we achieve a perfect emergence profile.
And then I communicate that I want the labial of that peg lateral to be positioned about 1 mm to the lingual of where the final facial of the tooth position will be so that I can add material–composite or ceramic, without having to prep the tooth. This position is going to ideally position the free gingival margin of the tooth exactly where I want it based on the free gingival margin of the canine and central incisor. The CEJ is going to be placed exactly where I want the CEJ.
Undersized Lateral Incisors
Often, we have lateral incisors that are not true peg laterals. They’re just undersized lateral incisors. In this case, we must do a thought process about how much restorative material will be added and calibrate how much forward dimension will be added to the tooth. If I’m going to have .5 mm of material on the labial, then I will have the orthodontist position the tooth .5 mm lingually.
If the emergence profile is perfect, then the orthodontist should make it touch the central and all the added material will go on the distal. If not, then a little material will be added to the mesial and to the distal.
Often, for me, the process is thinking, “Where do I want to add restorative material and how much material do I want to add?” Then, I think about where to position the tooth in the space so I will not need to remove any of the tooth structure.
Related Course
Mastering Treatment Planning
DATE: October 2 2025 @ 8:00 am - October 4 2025 @ 1:30 pmLocation: The Pankey Institute
CE HOURS:
Tuition: $ 4795
Single Occupancy with Ensuite Private Bath (per night): $ 345
MASTERING TREATMENT PLANNING Course Description In our discussions with participants in both the Essentials and Mastery level courses, we continue to hear the desire to help establish better systems for…
Learn More>


