Removing Resin from Inside a Crown
By Lee Ann Brady, DMD
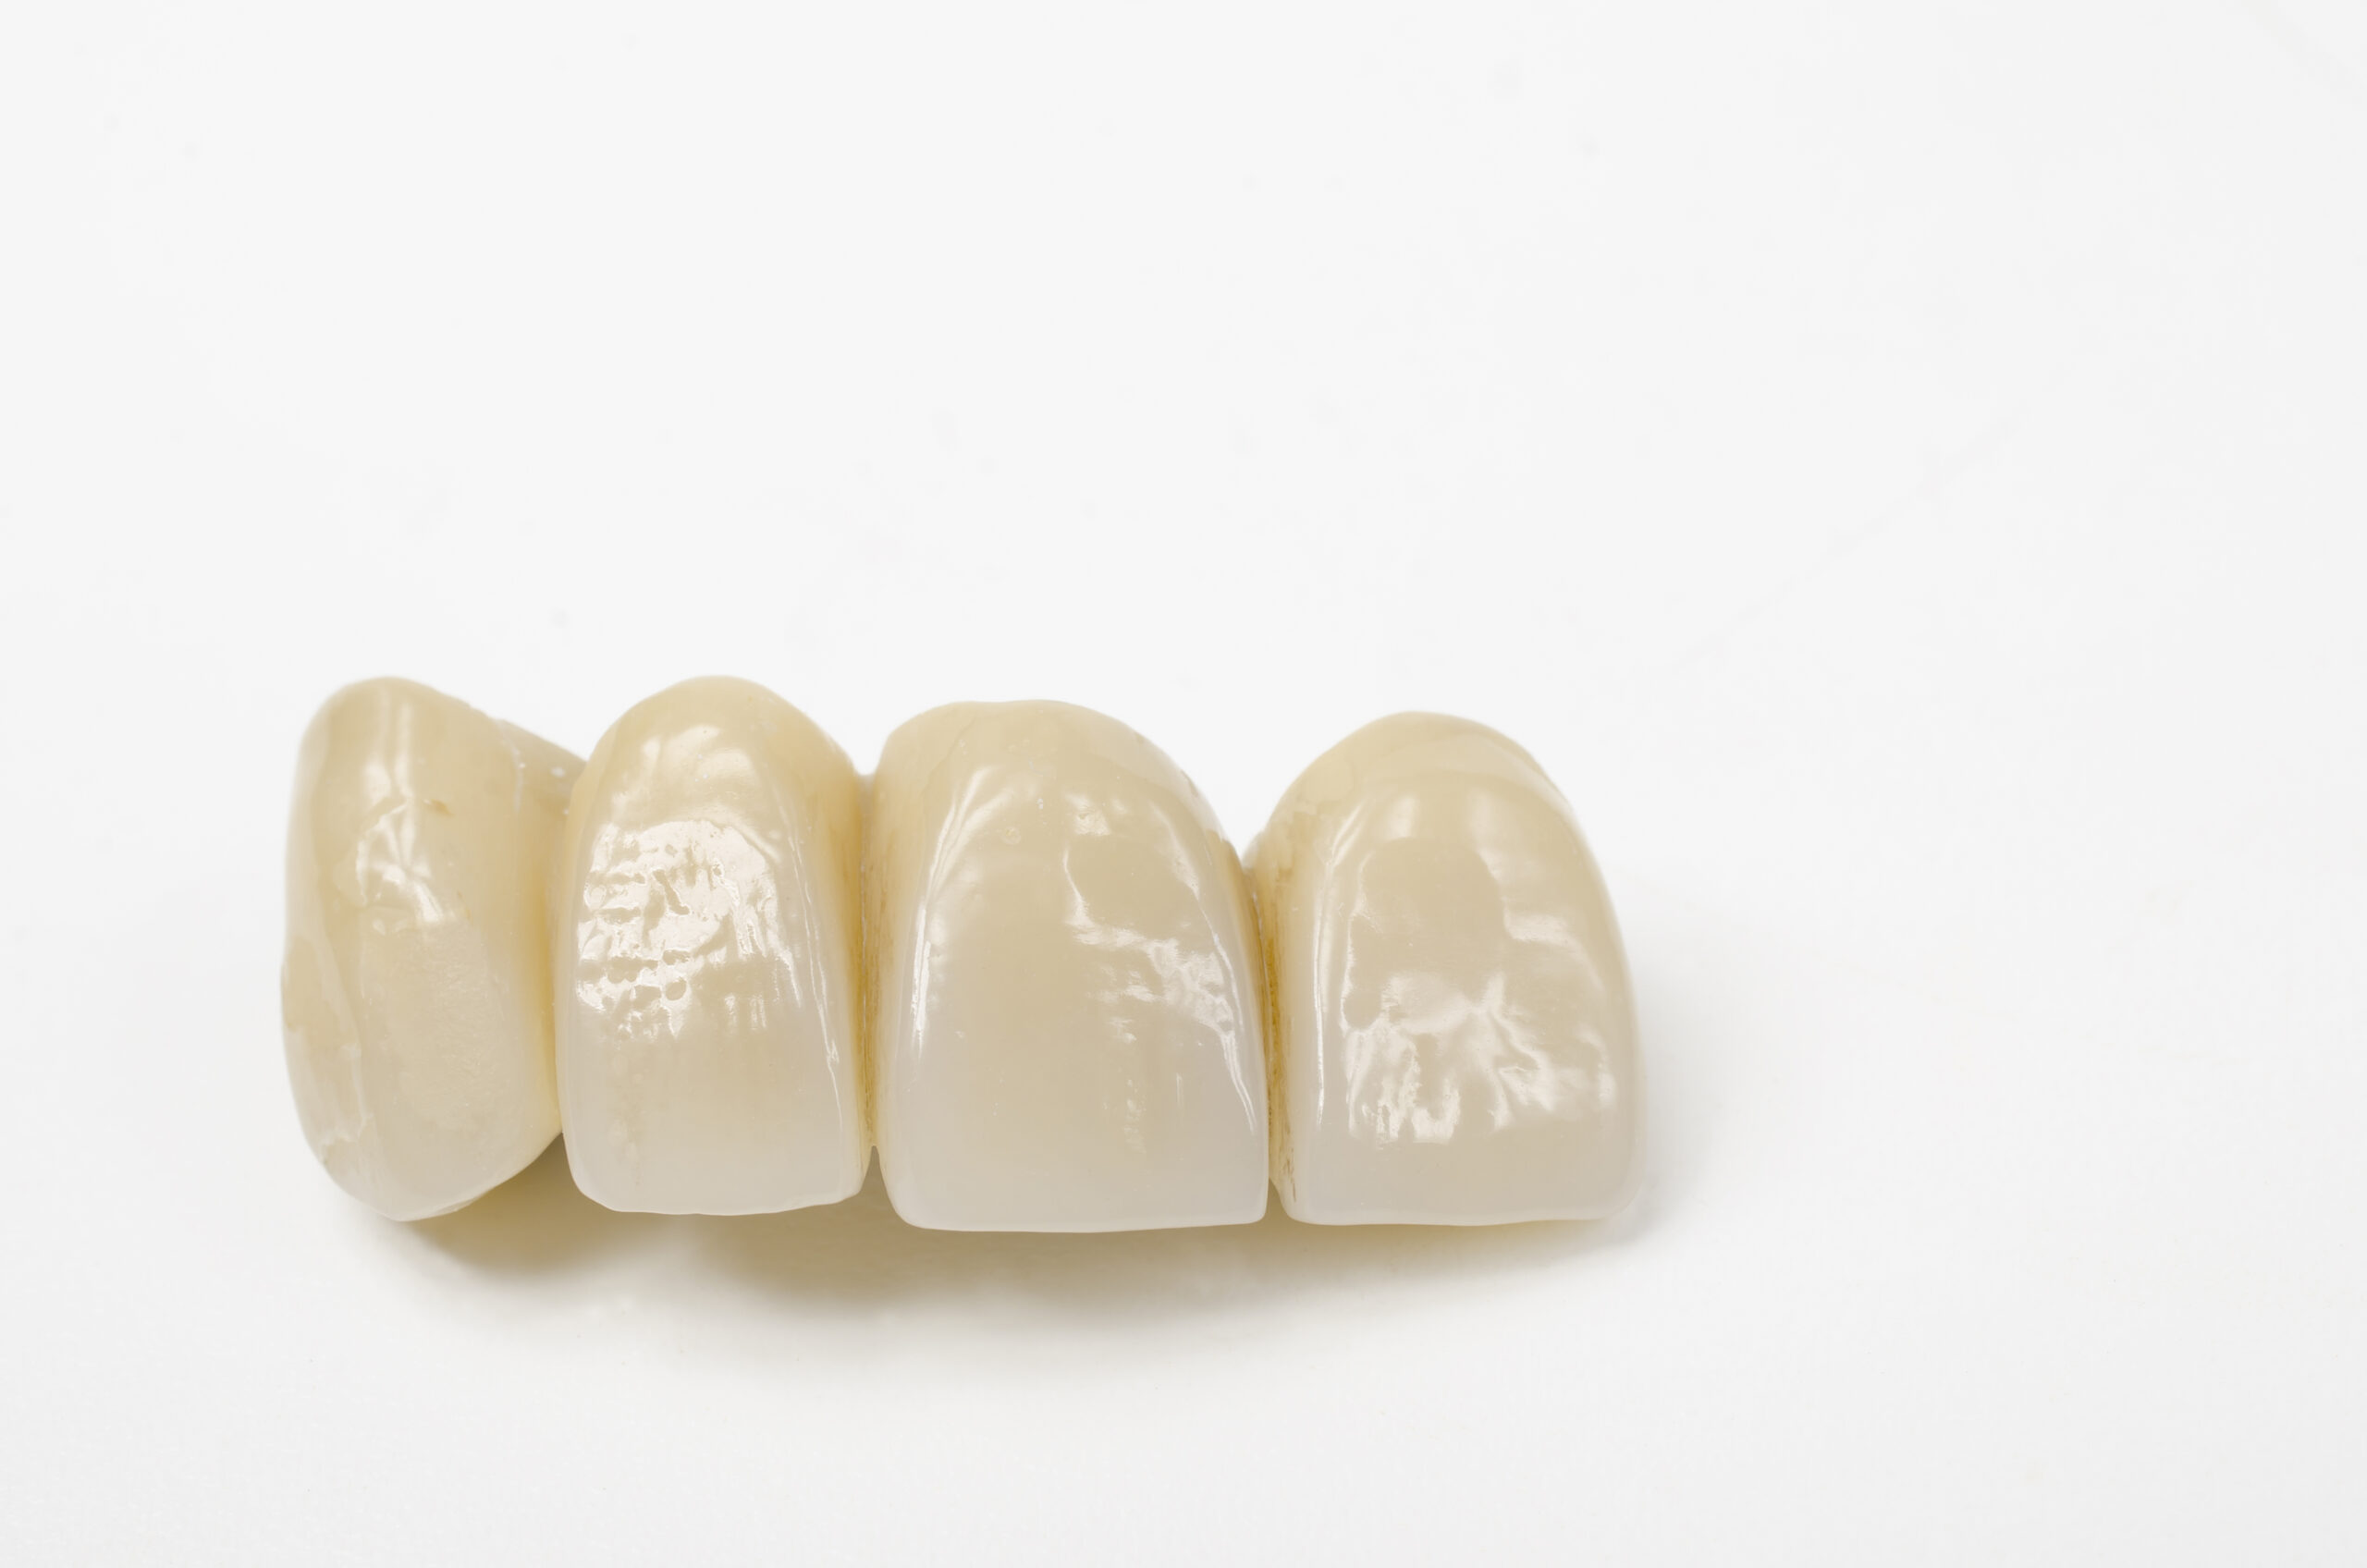
When a crown comes off and we are going to put it back in the mouth, we need to remove the old resin cement that is inside the crown. What is the best way to go about this?
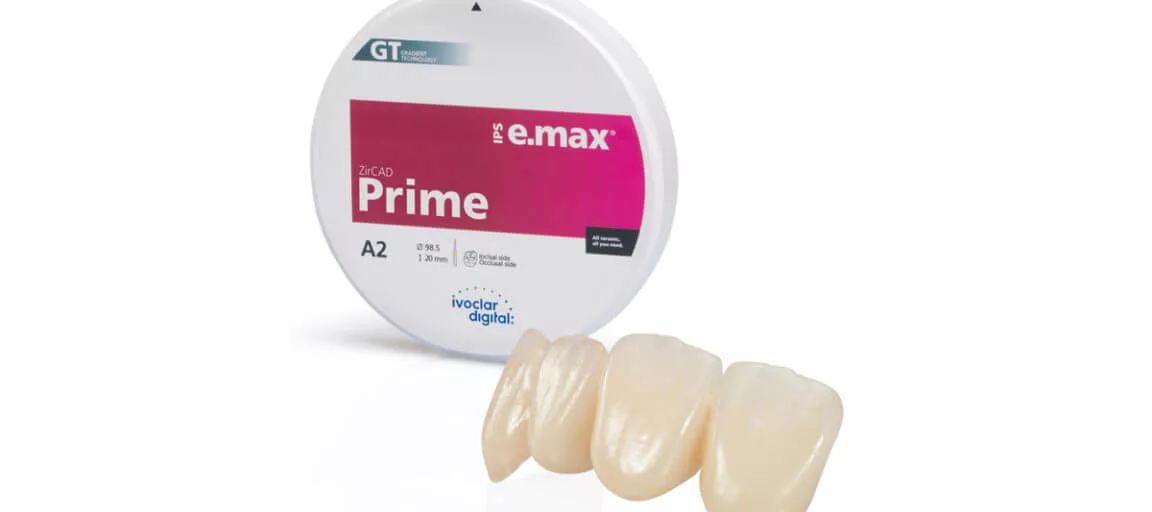
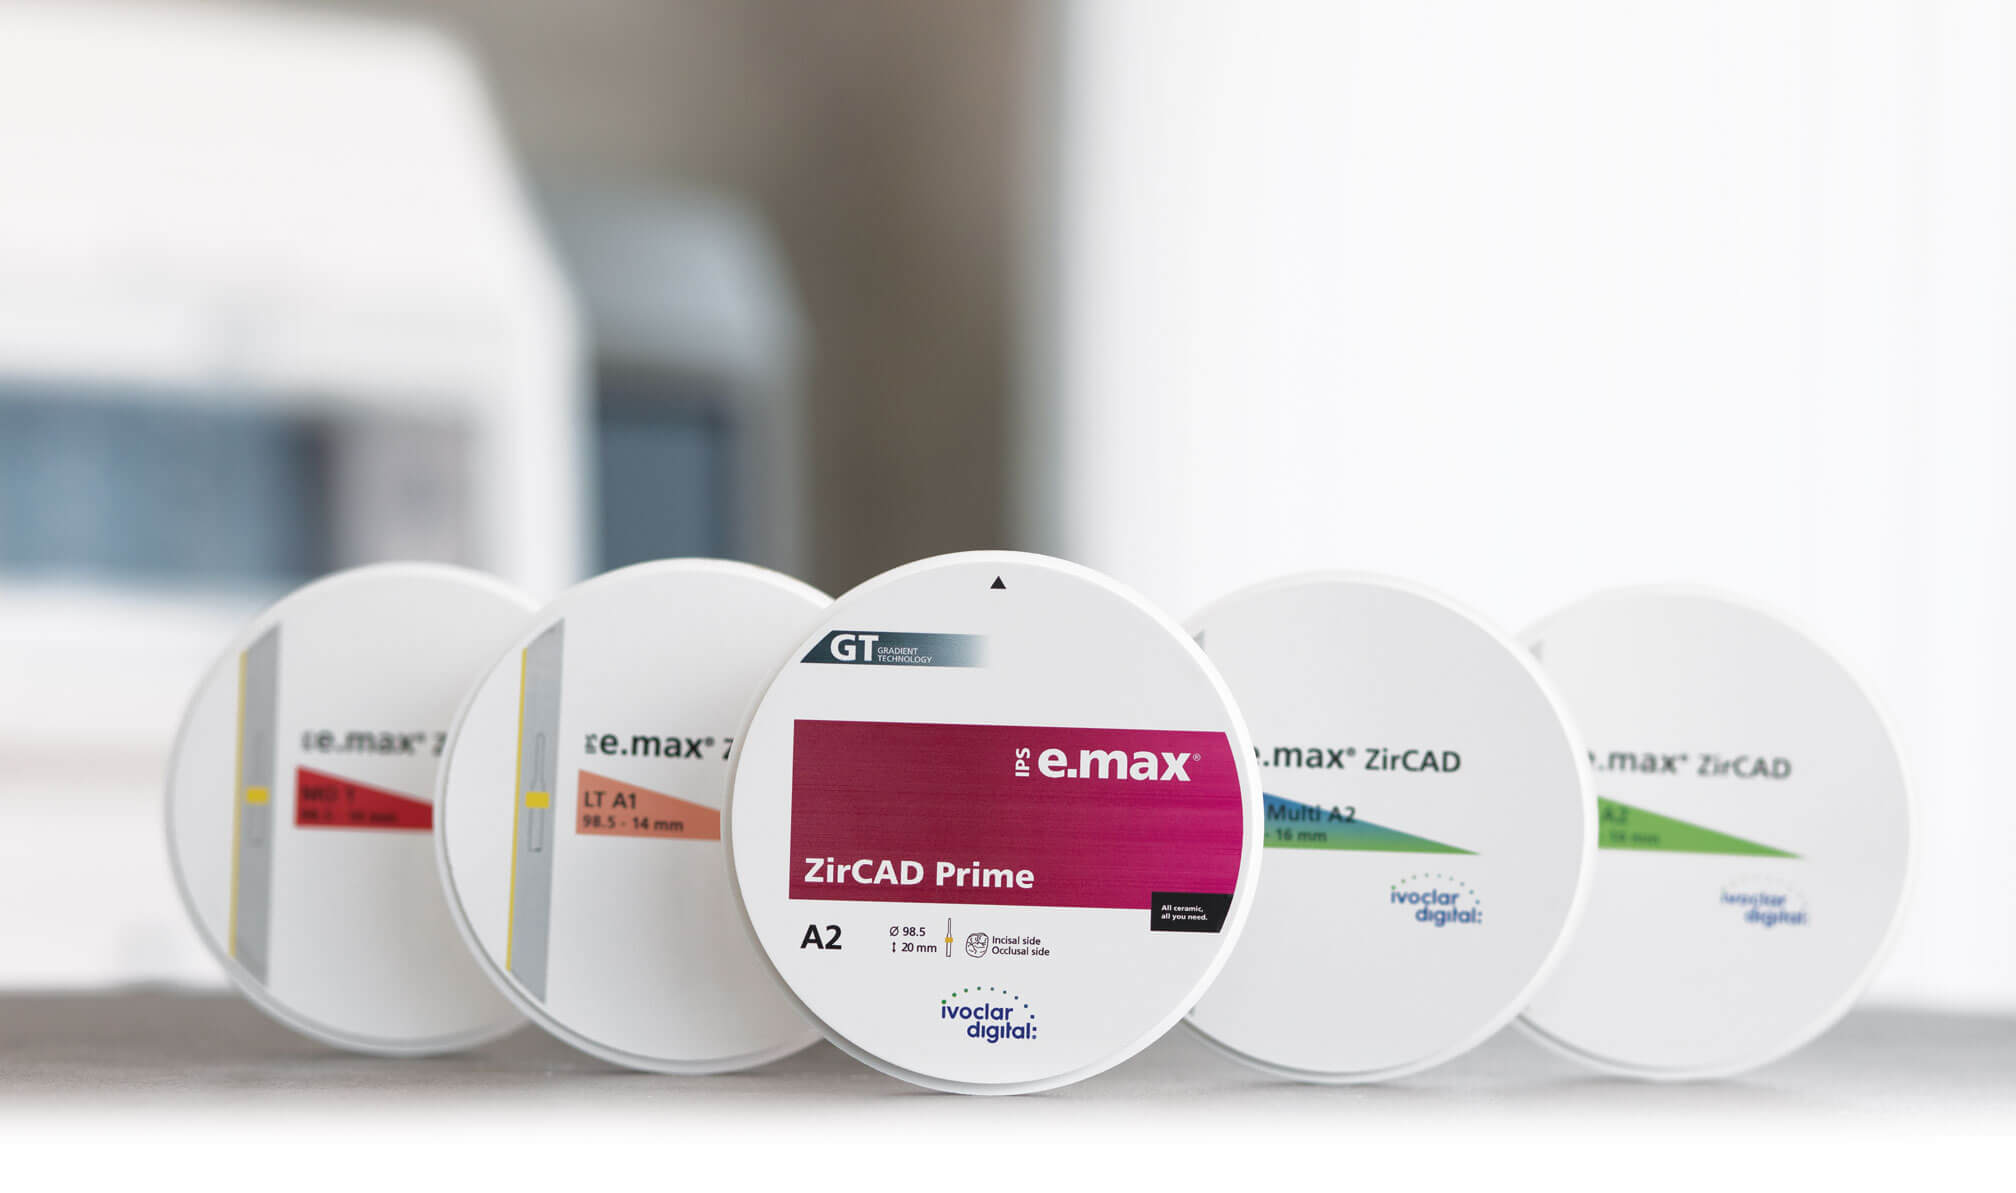
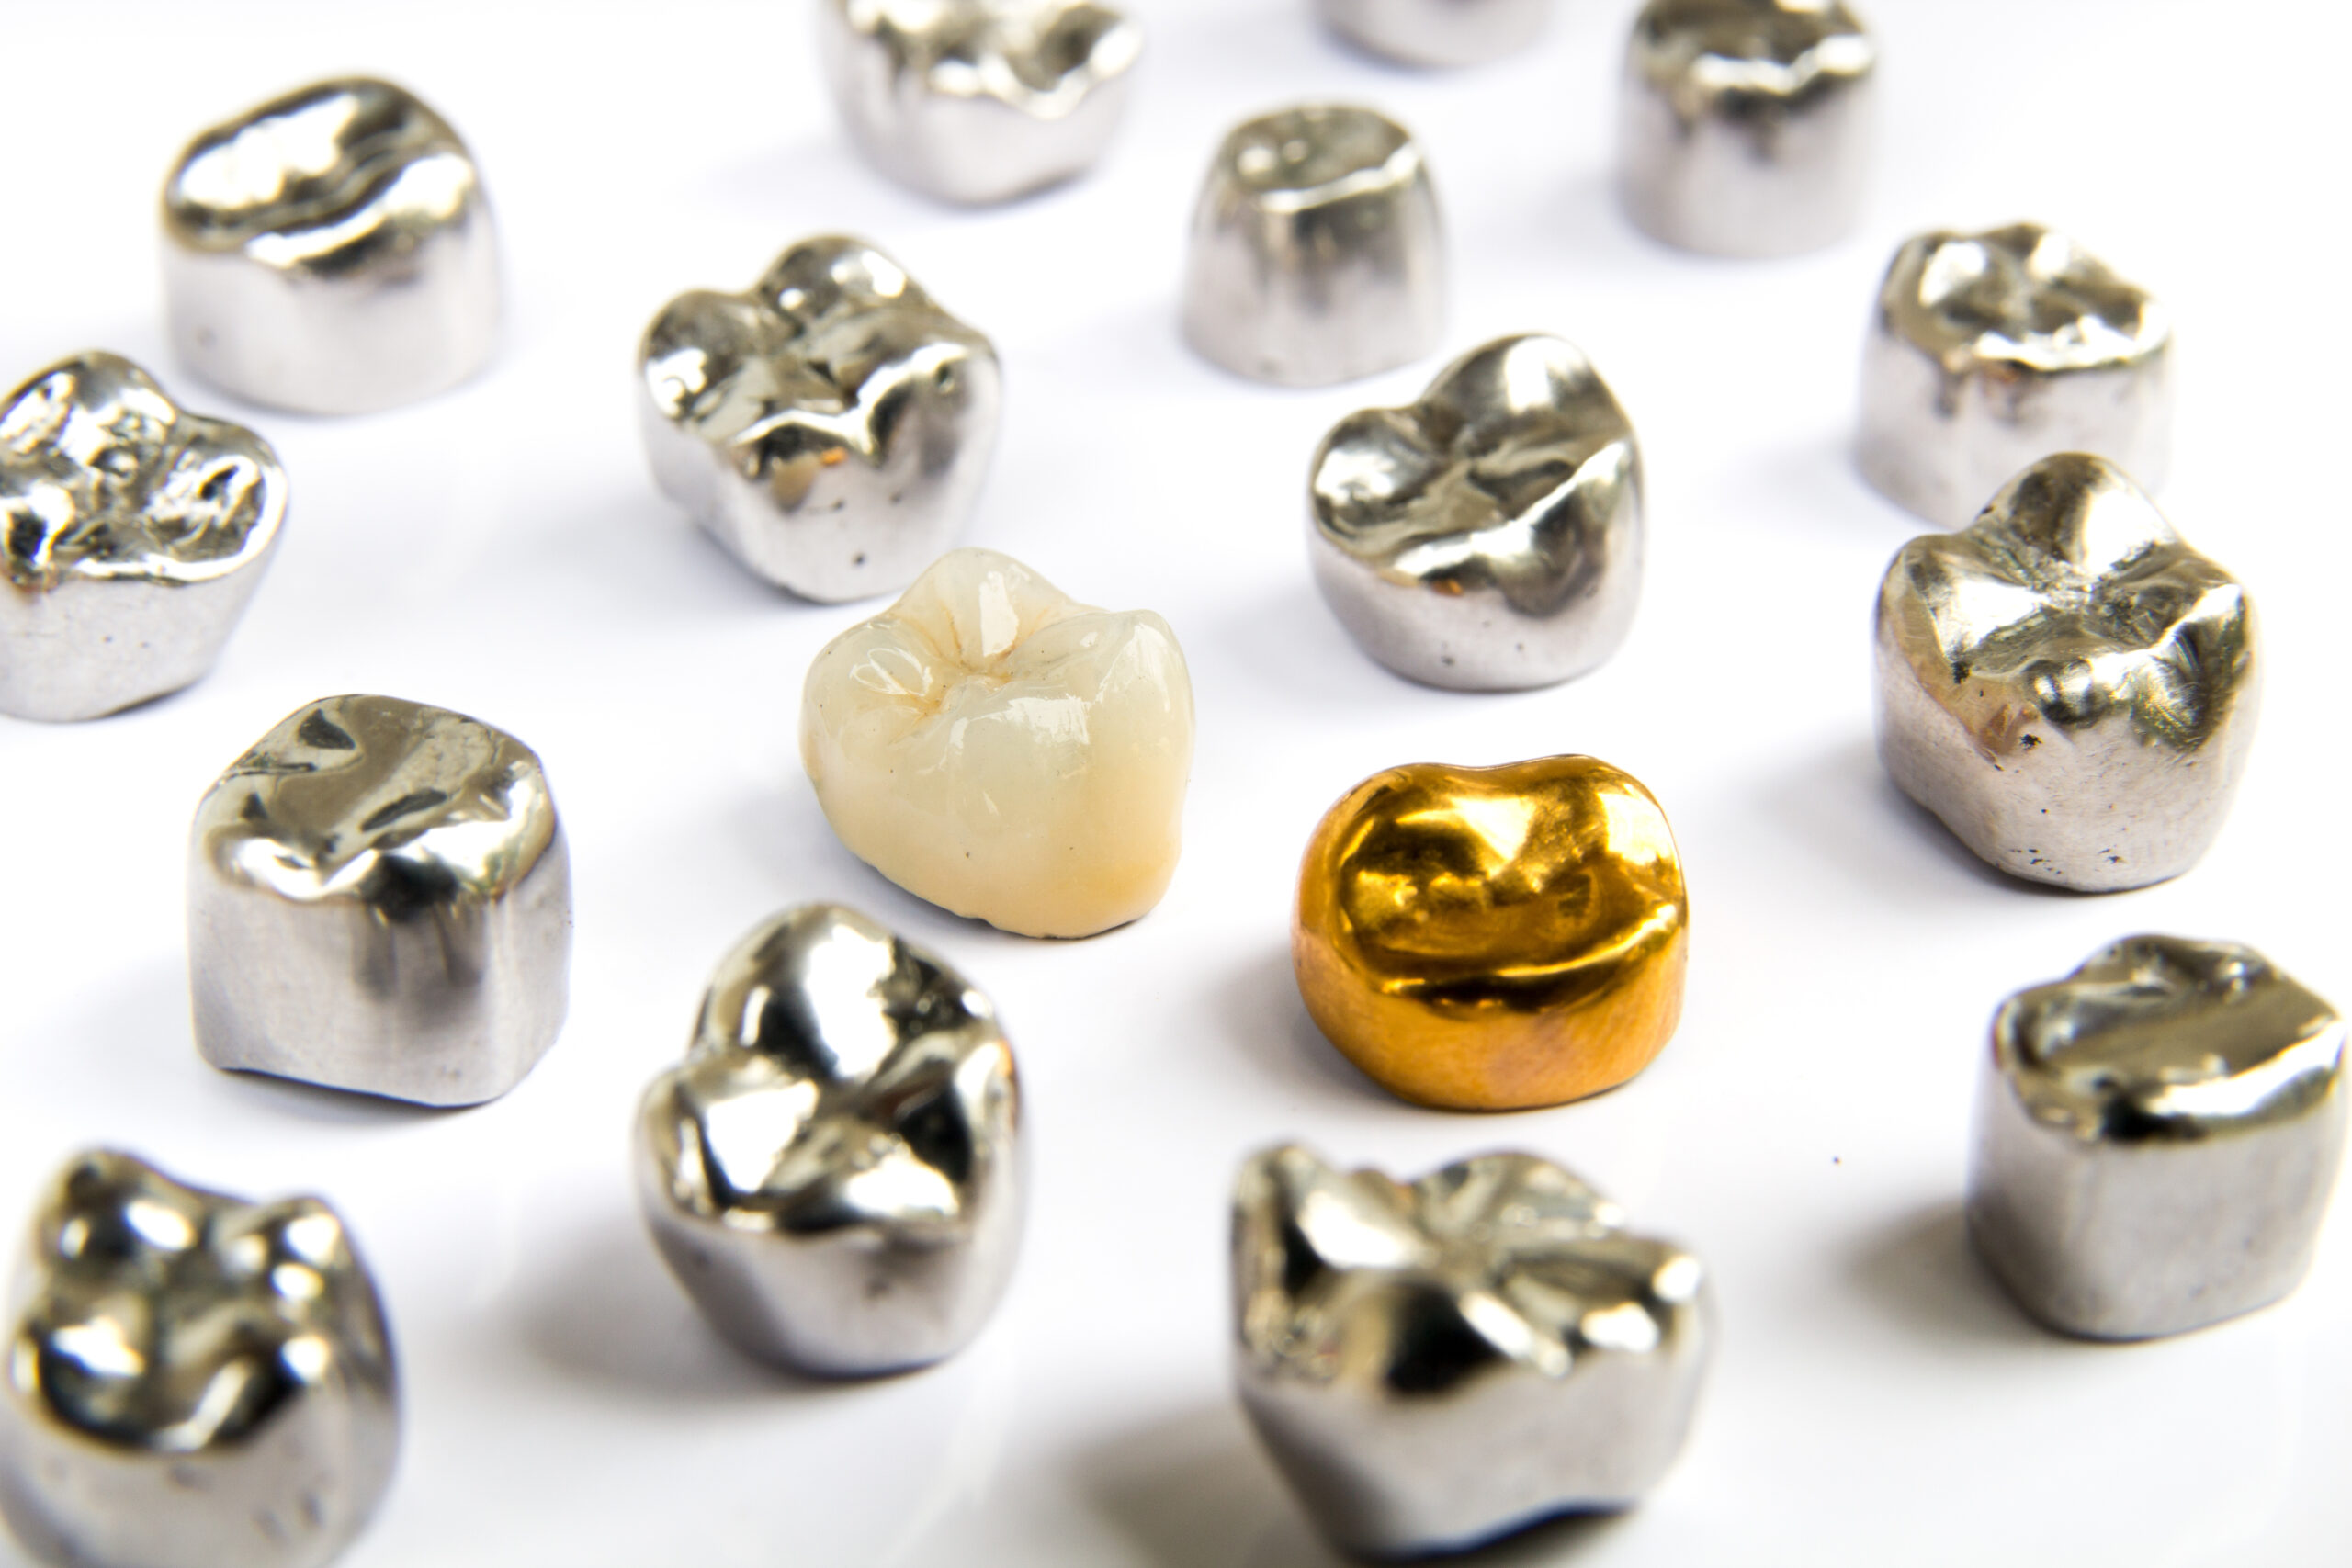
First, we need to know if the crown is made of zirconia or lithium disilicate. If you have a radiograph of that restoration, you can tell immediately which one of those two things it is. If you don’t, you can always attempt to X-ray it. (That’s what I do.) Alternatively, you can assume the crown is made of lithium disilicate, which is the more technique-sensitive material when it comes to removing cement.
For crowns confirmed to be zirconia, employing 30-micron aluminum oxide air abrasion effectively clears out the old resin cement. Subsequently, re-etching the inside of the zirconia prepares it for reseating. For crowns presumed to be lithium disilicate, this approach should be avoided to prevent crack propagation.
In the case of lithium disilicate crowns, two alternative methods can be employed:
- The crown can be placed in a porcelain oven to liquefy and evaporate the old resin. However, caution must be exercised to avoid rapid heating of the hydrated ceramic that has been in the oral environment. Rapid dehydration will introduce cracks and lead to crown fracturing.
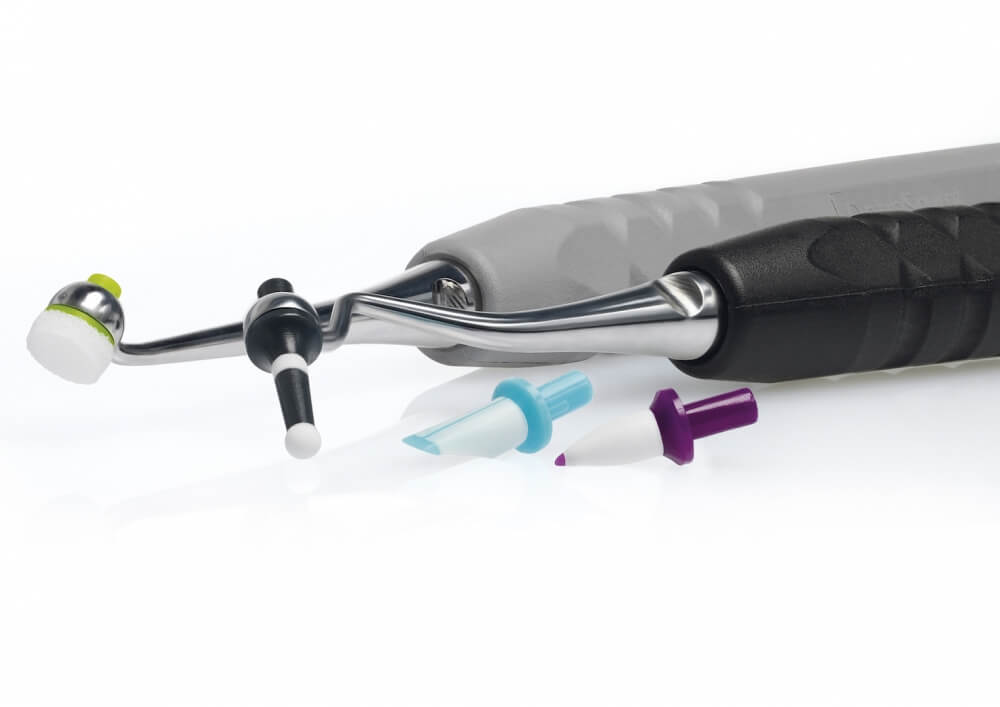
- An alternative method involves using a brown silicone point in a high-speed handpiece, adjusted to lowest speed. A brown silicone point at slow speed effectively removes resin without damaging ceramic.
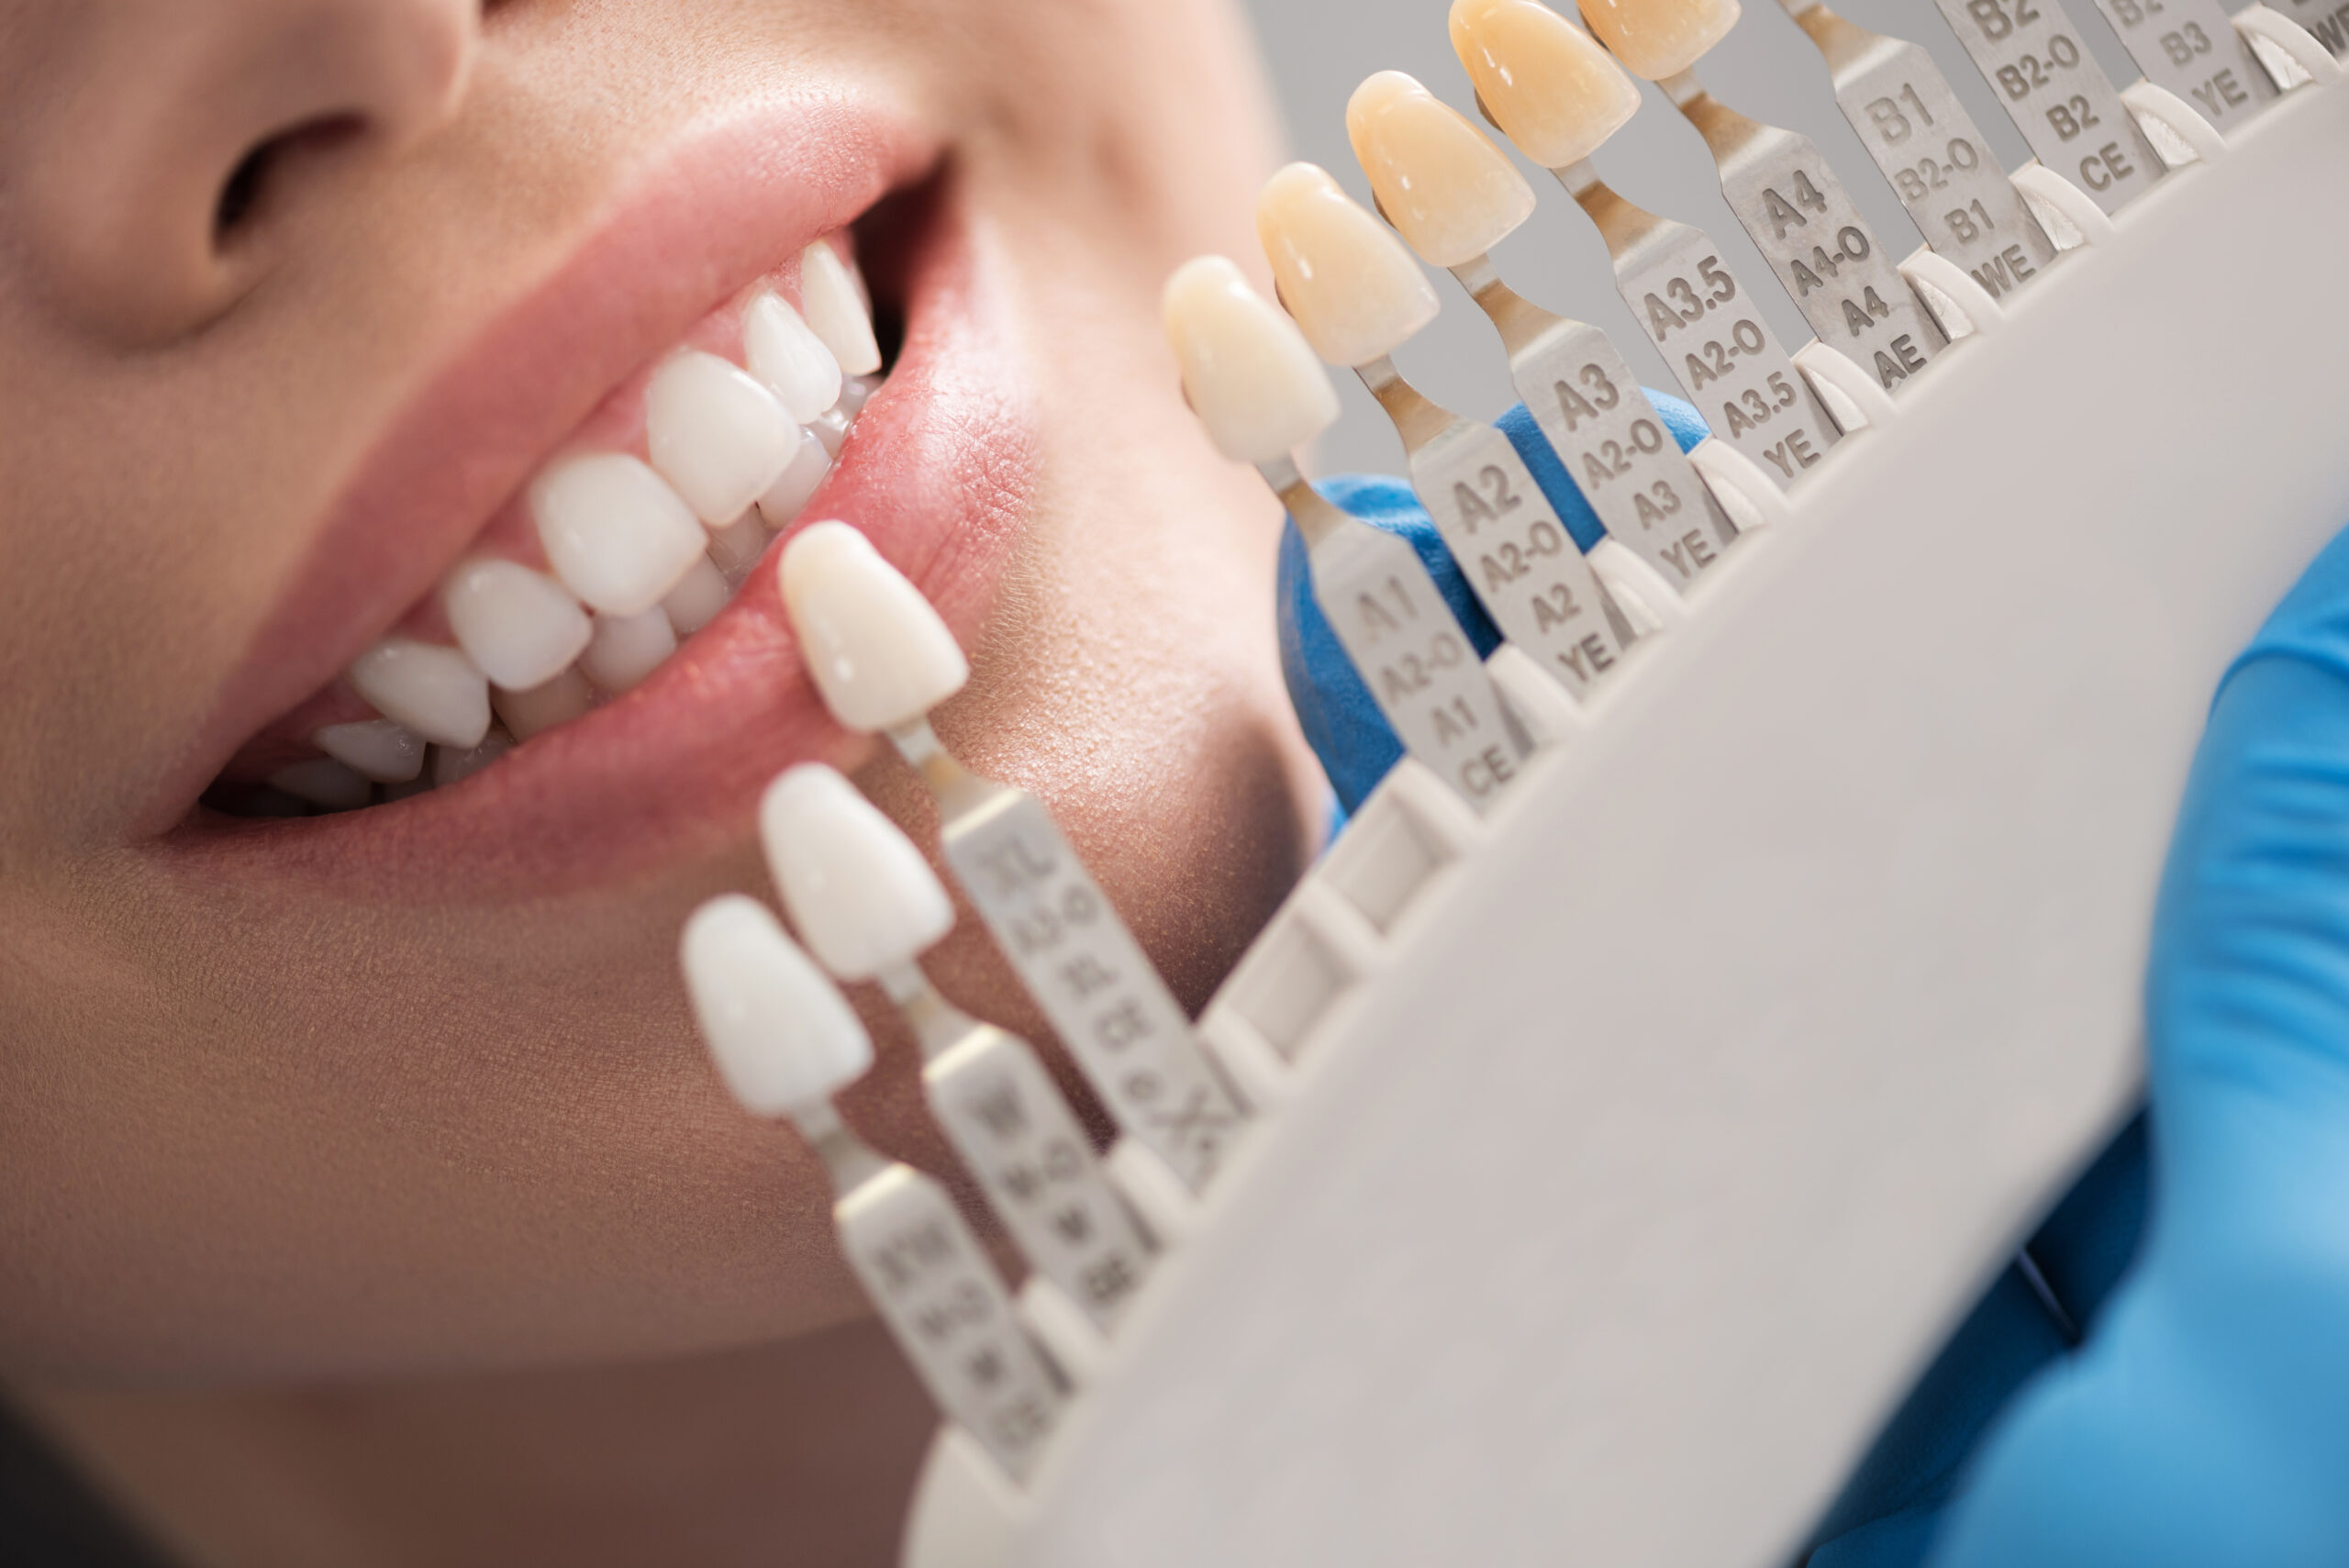
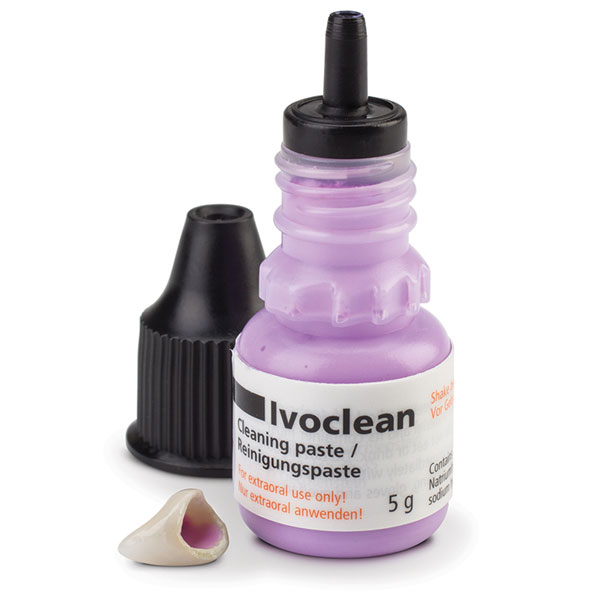
How will you know when all the resin has been removed? When etching lithium disilicate, whether using red 5% hydrofluoric acid or Monobond Etch & Prime from Ivoclar Vivadent, any remaining resin will be evident because the dye sticks to it after the etching solution is rinsed off.


Related Course
Worn Dentition: Direct & Indirect Adhesive Management Through a Non-Invasive Approach
DATE: October 24 2025 @ 8:00 am - October 25 2025 @ 2:30 pmLocation: The Pankey Institute
CE HOURS: 15
Dentist Tuition : $ 2595
Single Occupancy with Ensuite Private Bath (per night): $ 345
Enhance Restorative Outcomes The main goal of this course is to provide, indications and protocols to diagnose and treat severe worn dentition through a new no prep approach increasing the…
Learn More>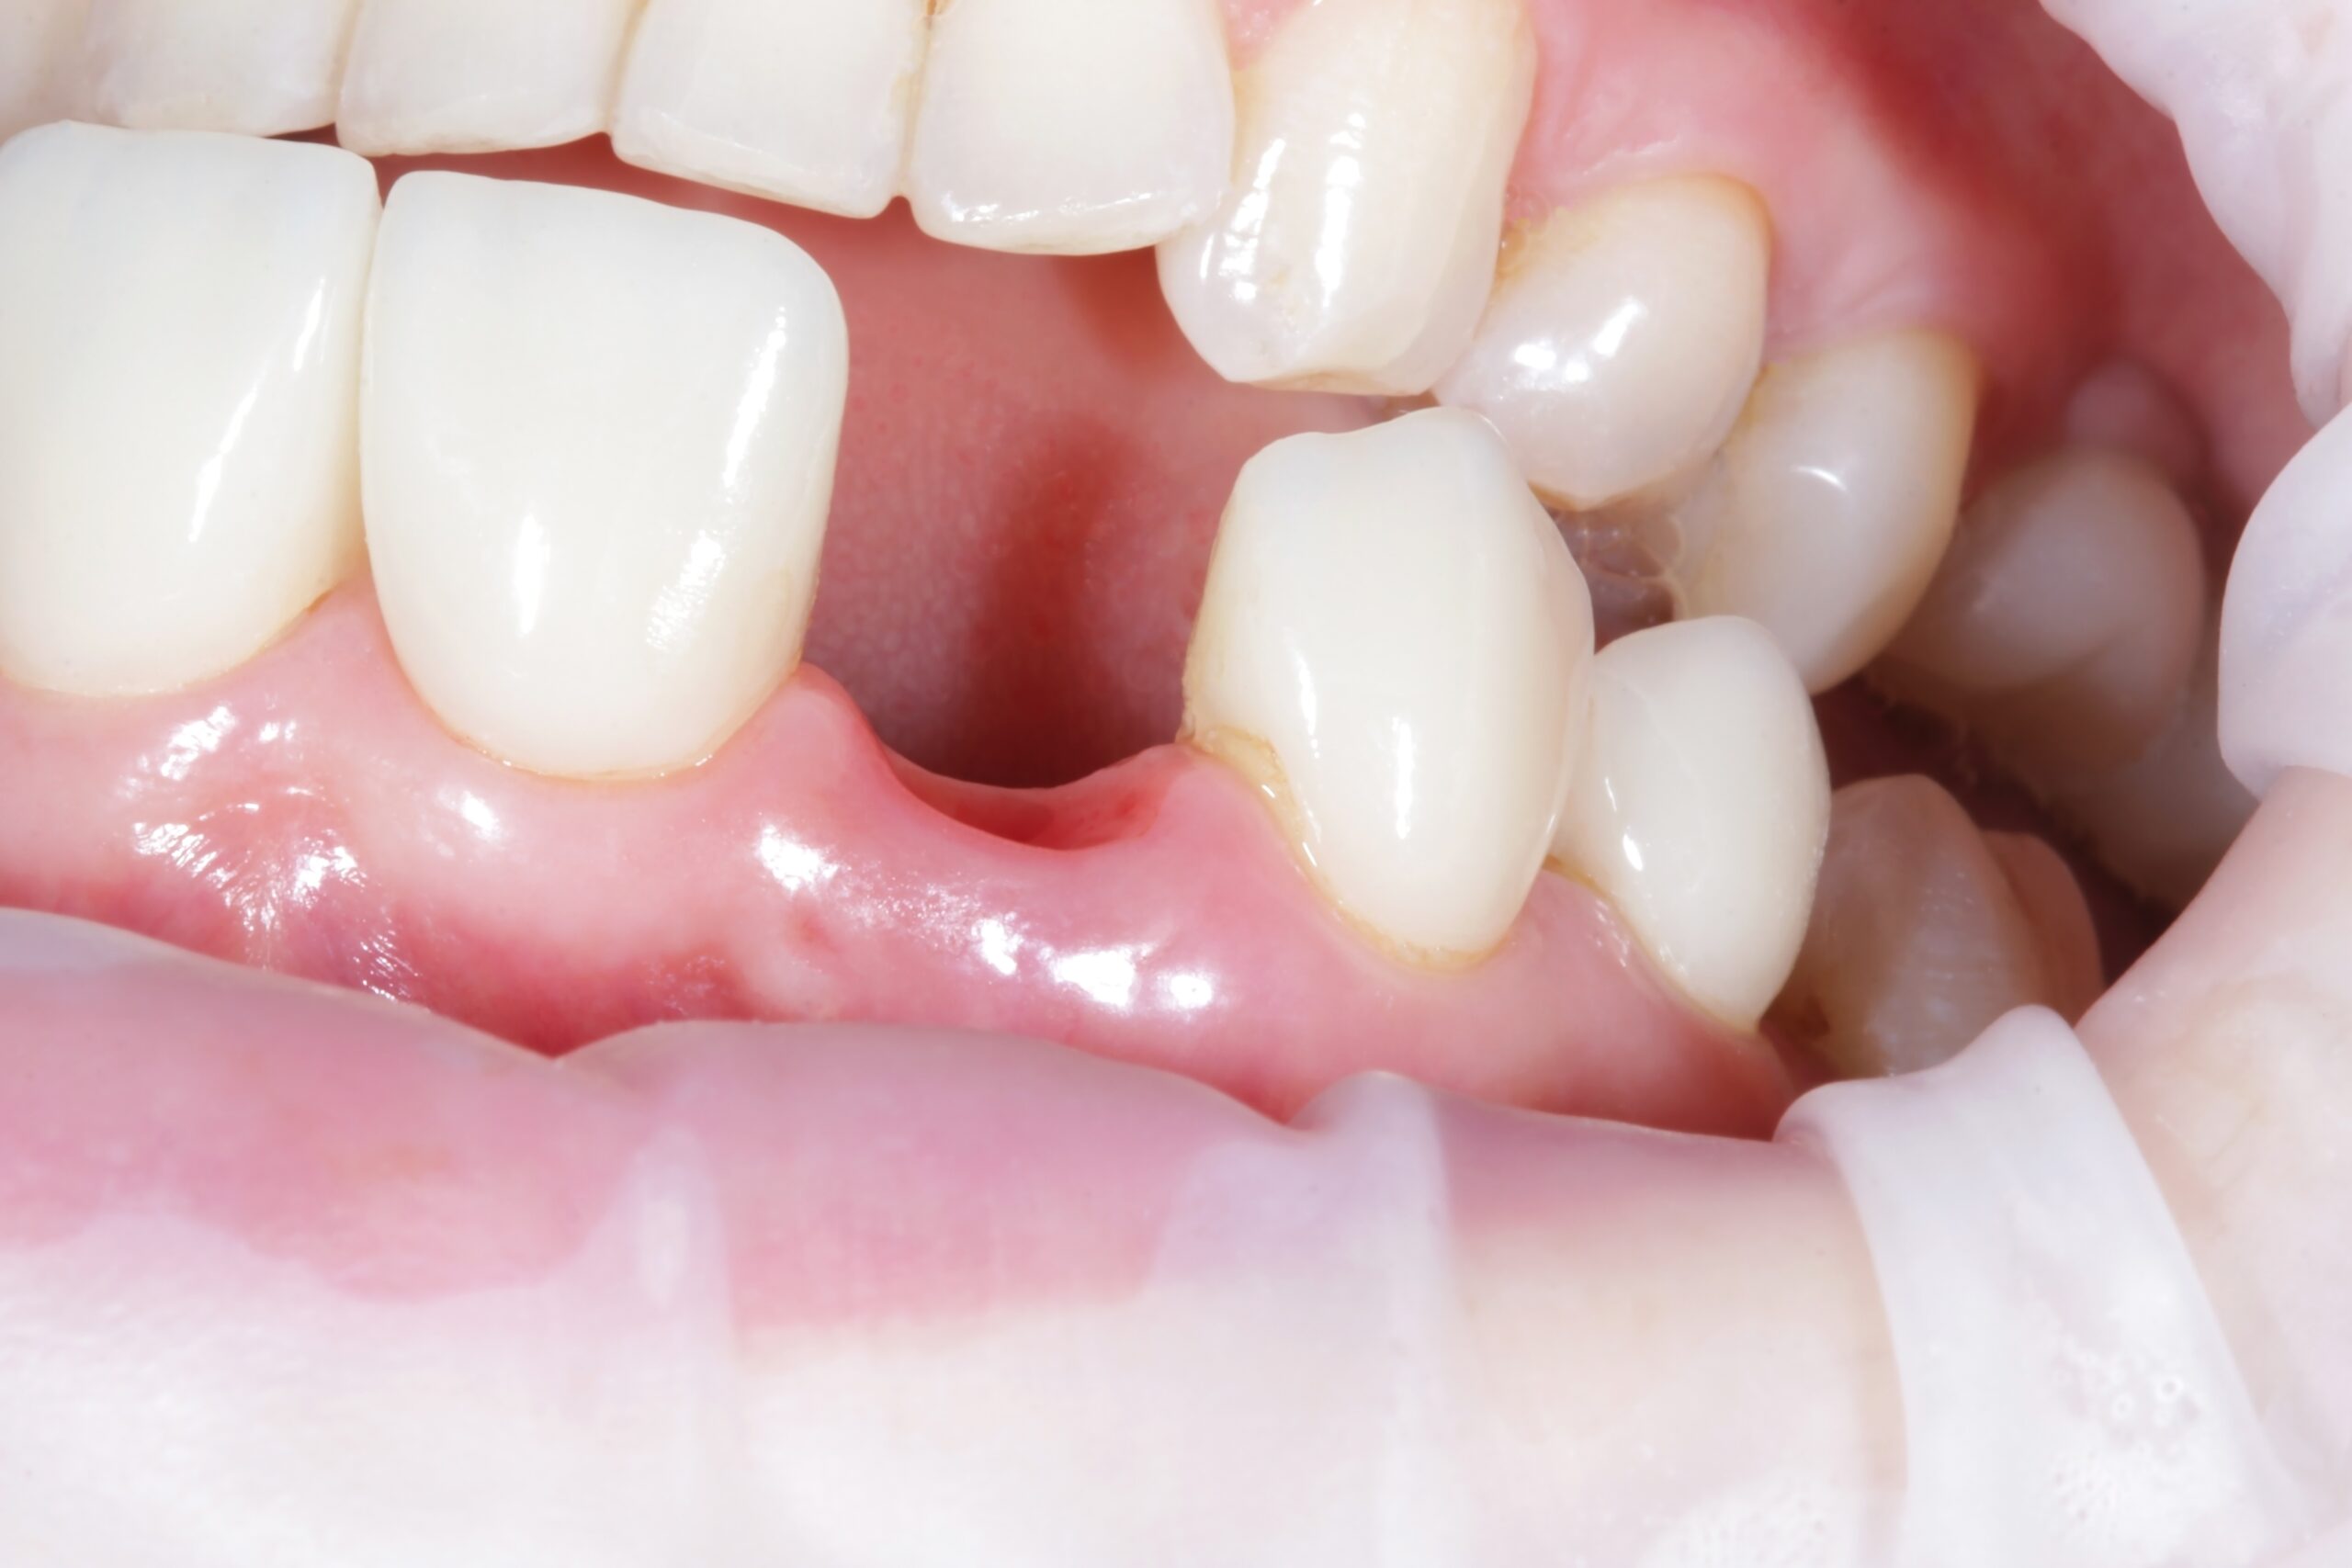
About Author
Dr. Lee Ann Brady is passionate about dentistry, her family and making a difference. She is a general dentist and owns a practice in Glendale, AZ limited to restorative dentistry. Lee’s passion for dental education began as a CE junkie herself, pursuing lots of advanced continuing education focused on Restorative and Occlusion. In 2005, she became a full time resident faculty member for The Pankey Institute, and was promoted to Clinical Director in 2006. Lee joined Spear Education as Executive VP of Education in the fall of 2008 to teach and coordinate the educational curriculum. In June of 2011, she left Spear Education, founded leeannbrady.com and joined the dental practice she now owns as an associate. Today, she teaches at dental meetings and study clubs both nationally and internationally, continues to write for dental journals and her website, sits on the editorial board of the Journal of Cosmetic Dentistry, Inside Dentistry and DentalTown Magazines and is the Director of Education for The Pankey Institute.