Retooling an Implant Supported Hybrid Denture
By Lee Ann Brady, DMD
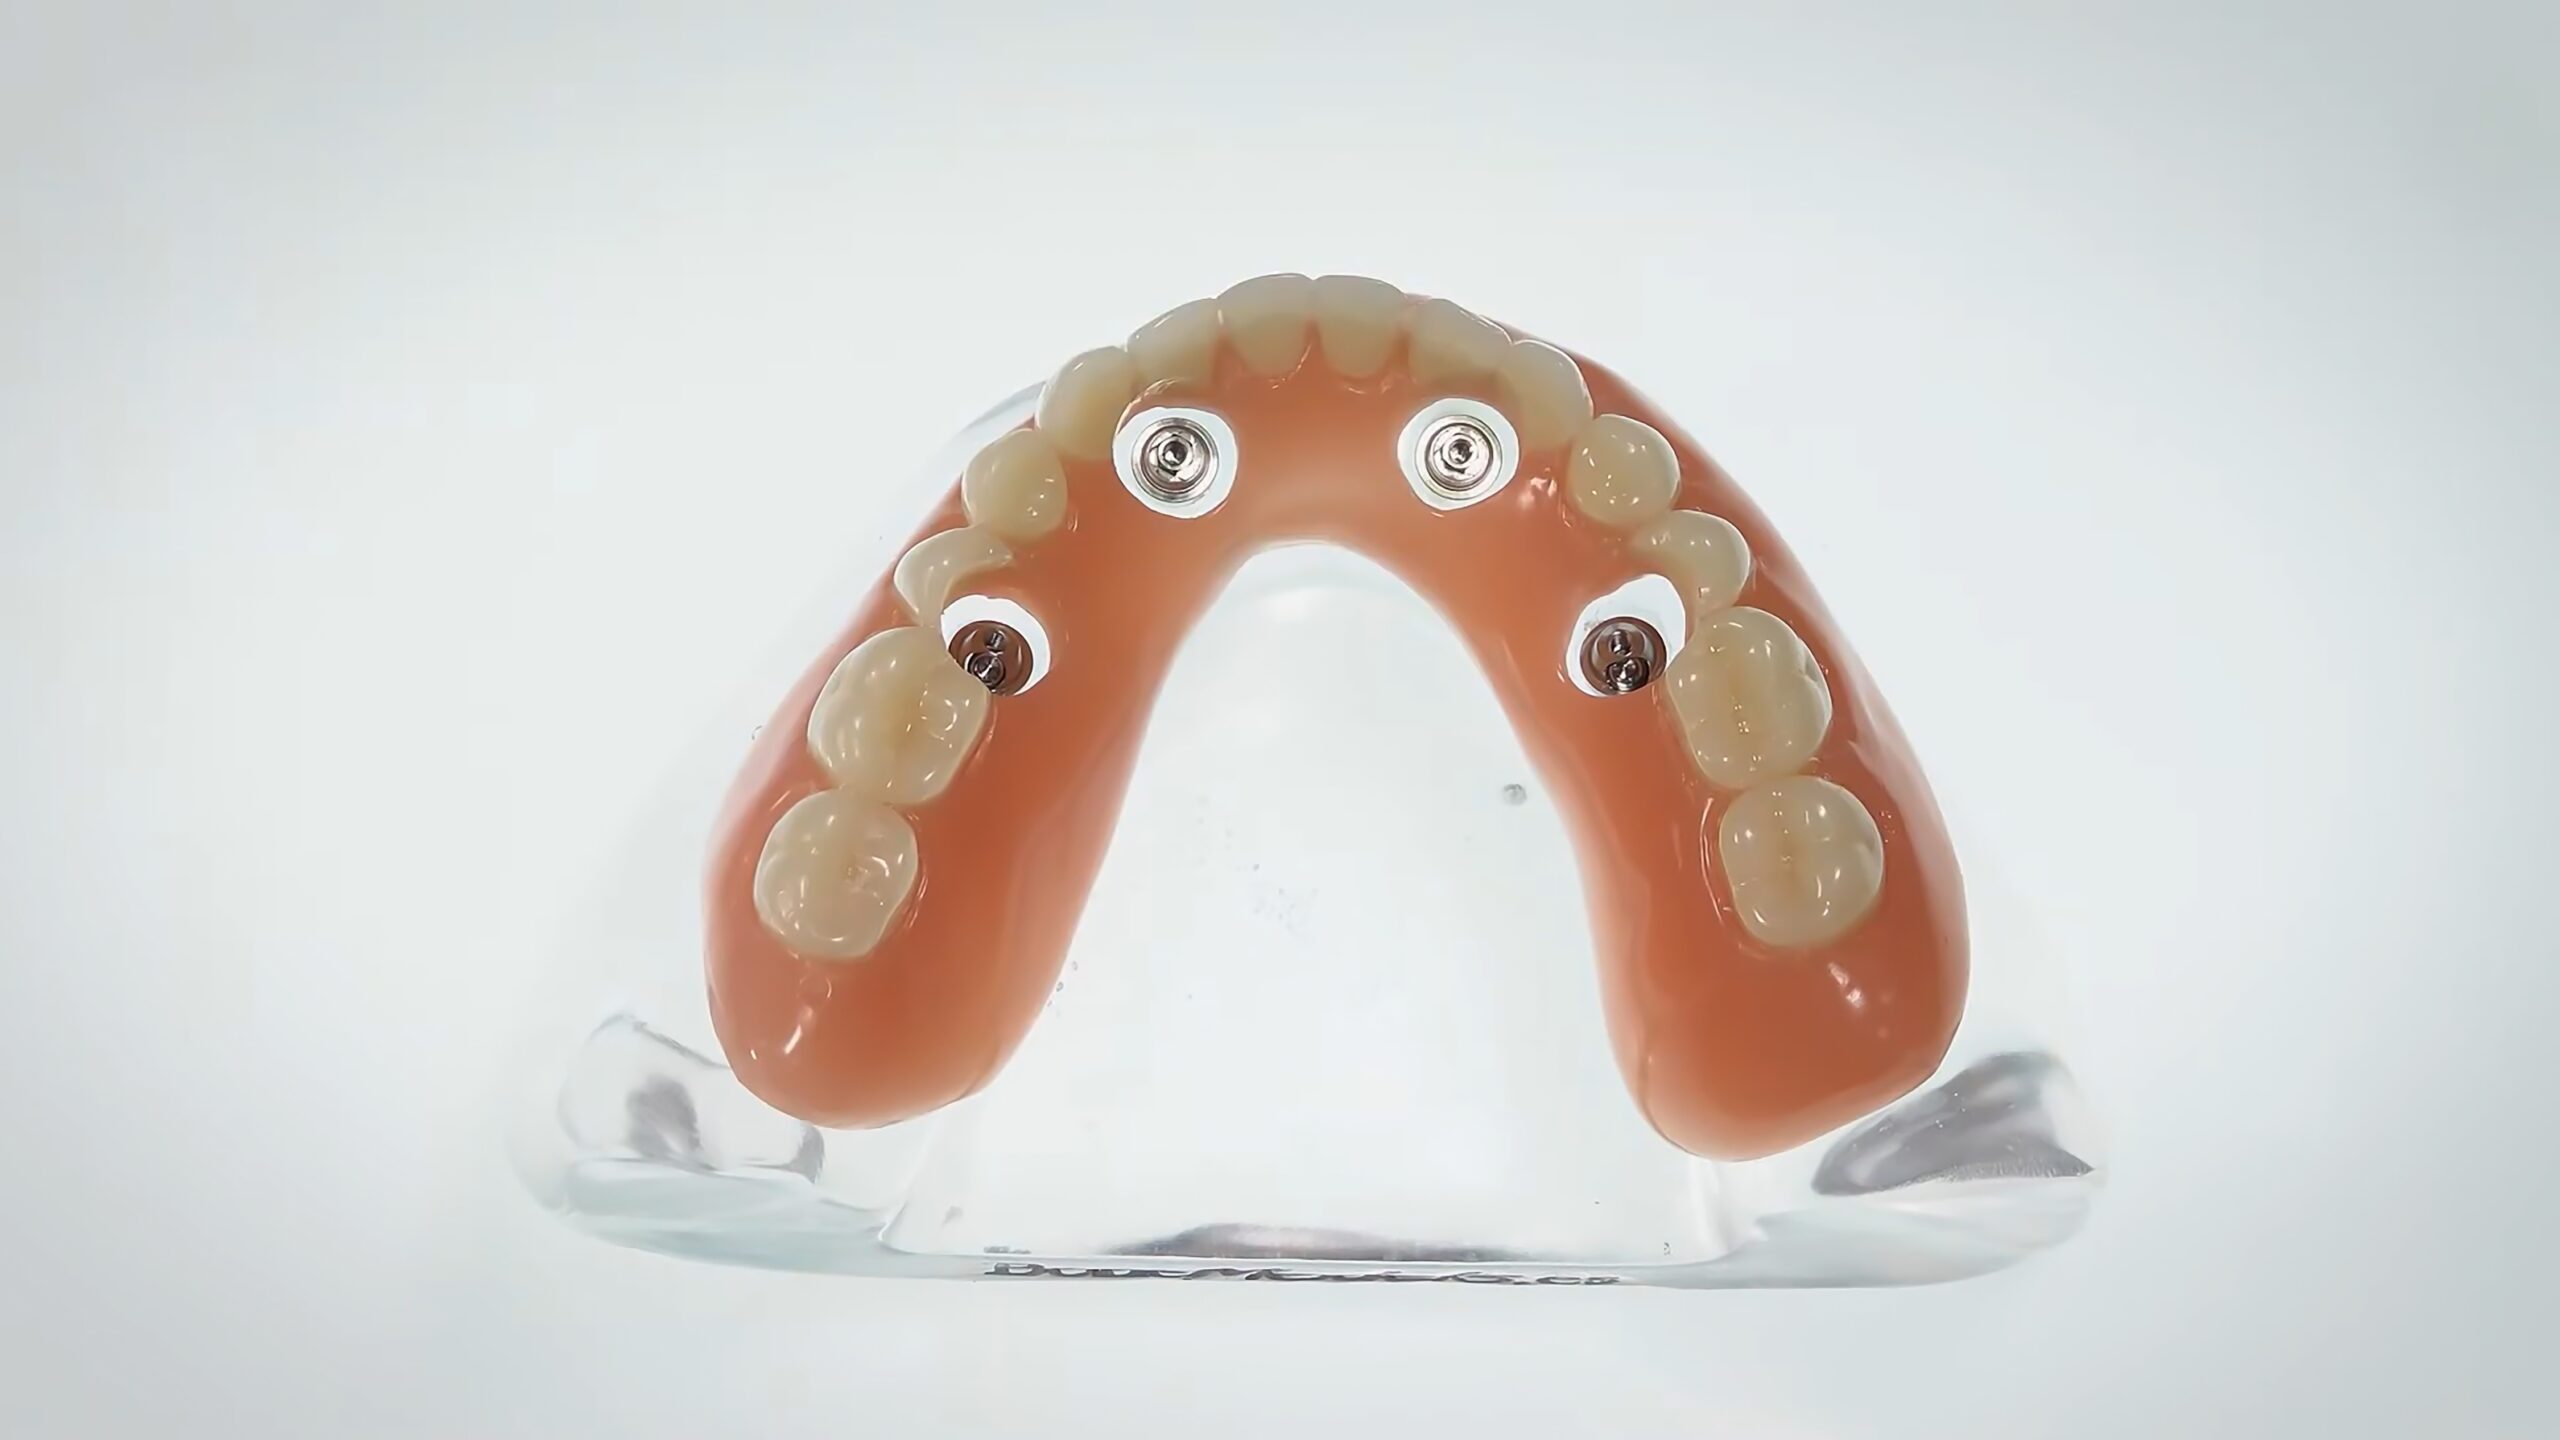
A patient chipped a tooth on her lower hybrid denture and loosened an implant screw. The denture had been placed 18 years ago, so she had an old titanium bar with denture teeth and pink acrylic. That day, I put the screw back in and smoothed out where the tooth was chipped. During this visit we had a great conversation about the future of her hybrid denture.
I have had a similar conversation with several patients in recent months. They have the original, traditional bar retained hybrid denture that is nearing the end of its lifespan. And so, what are the options?
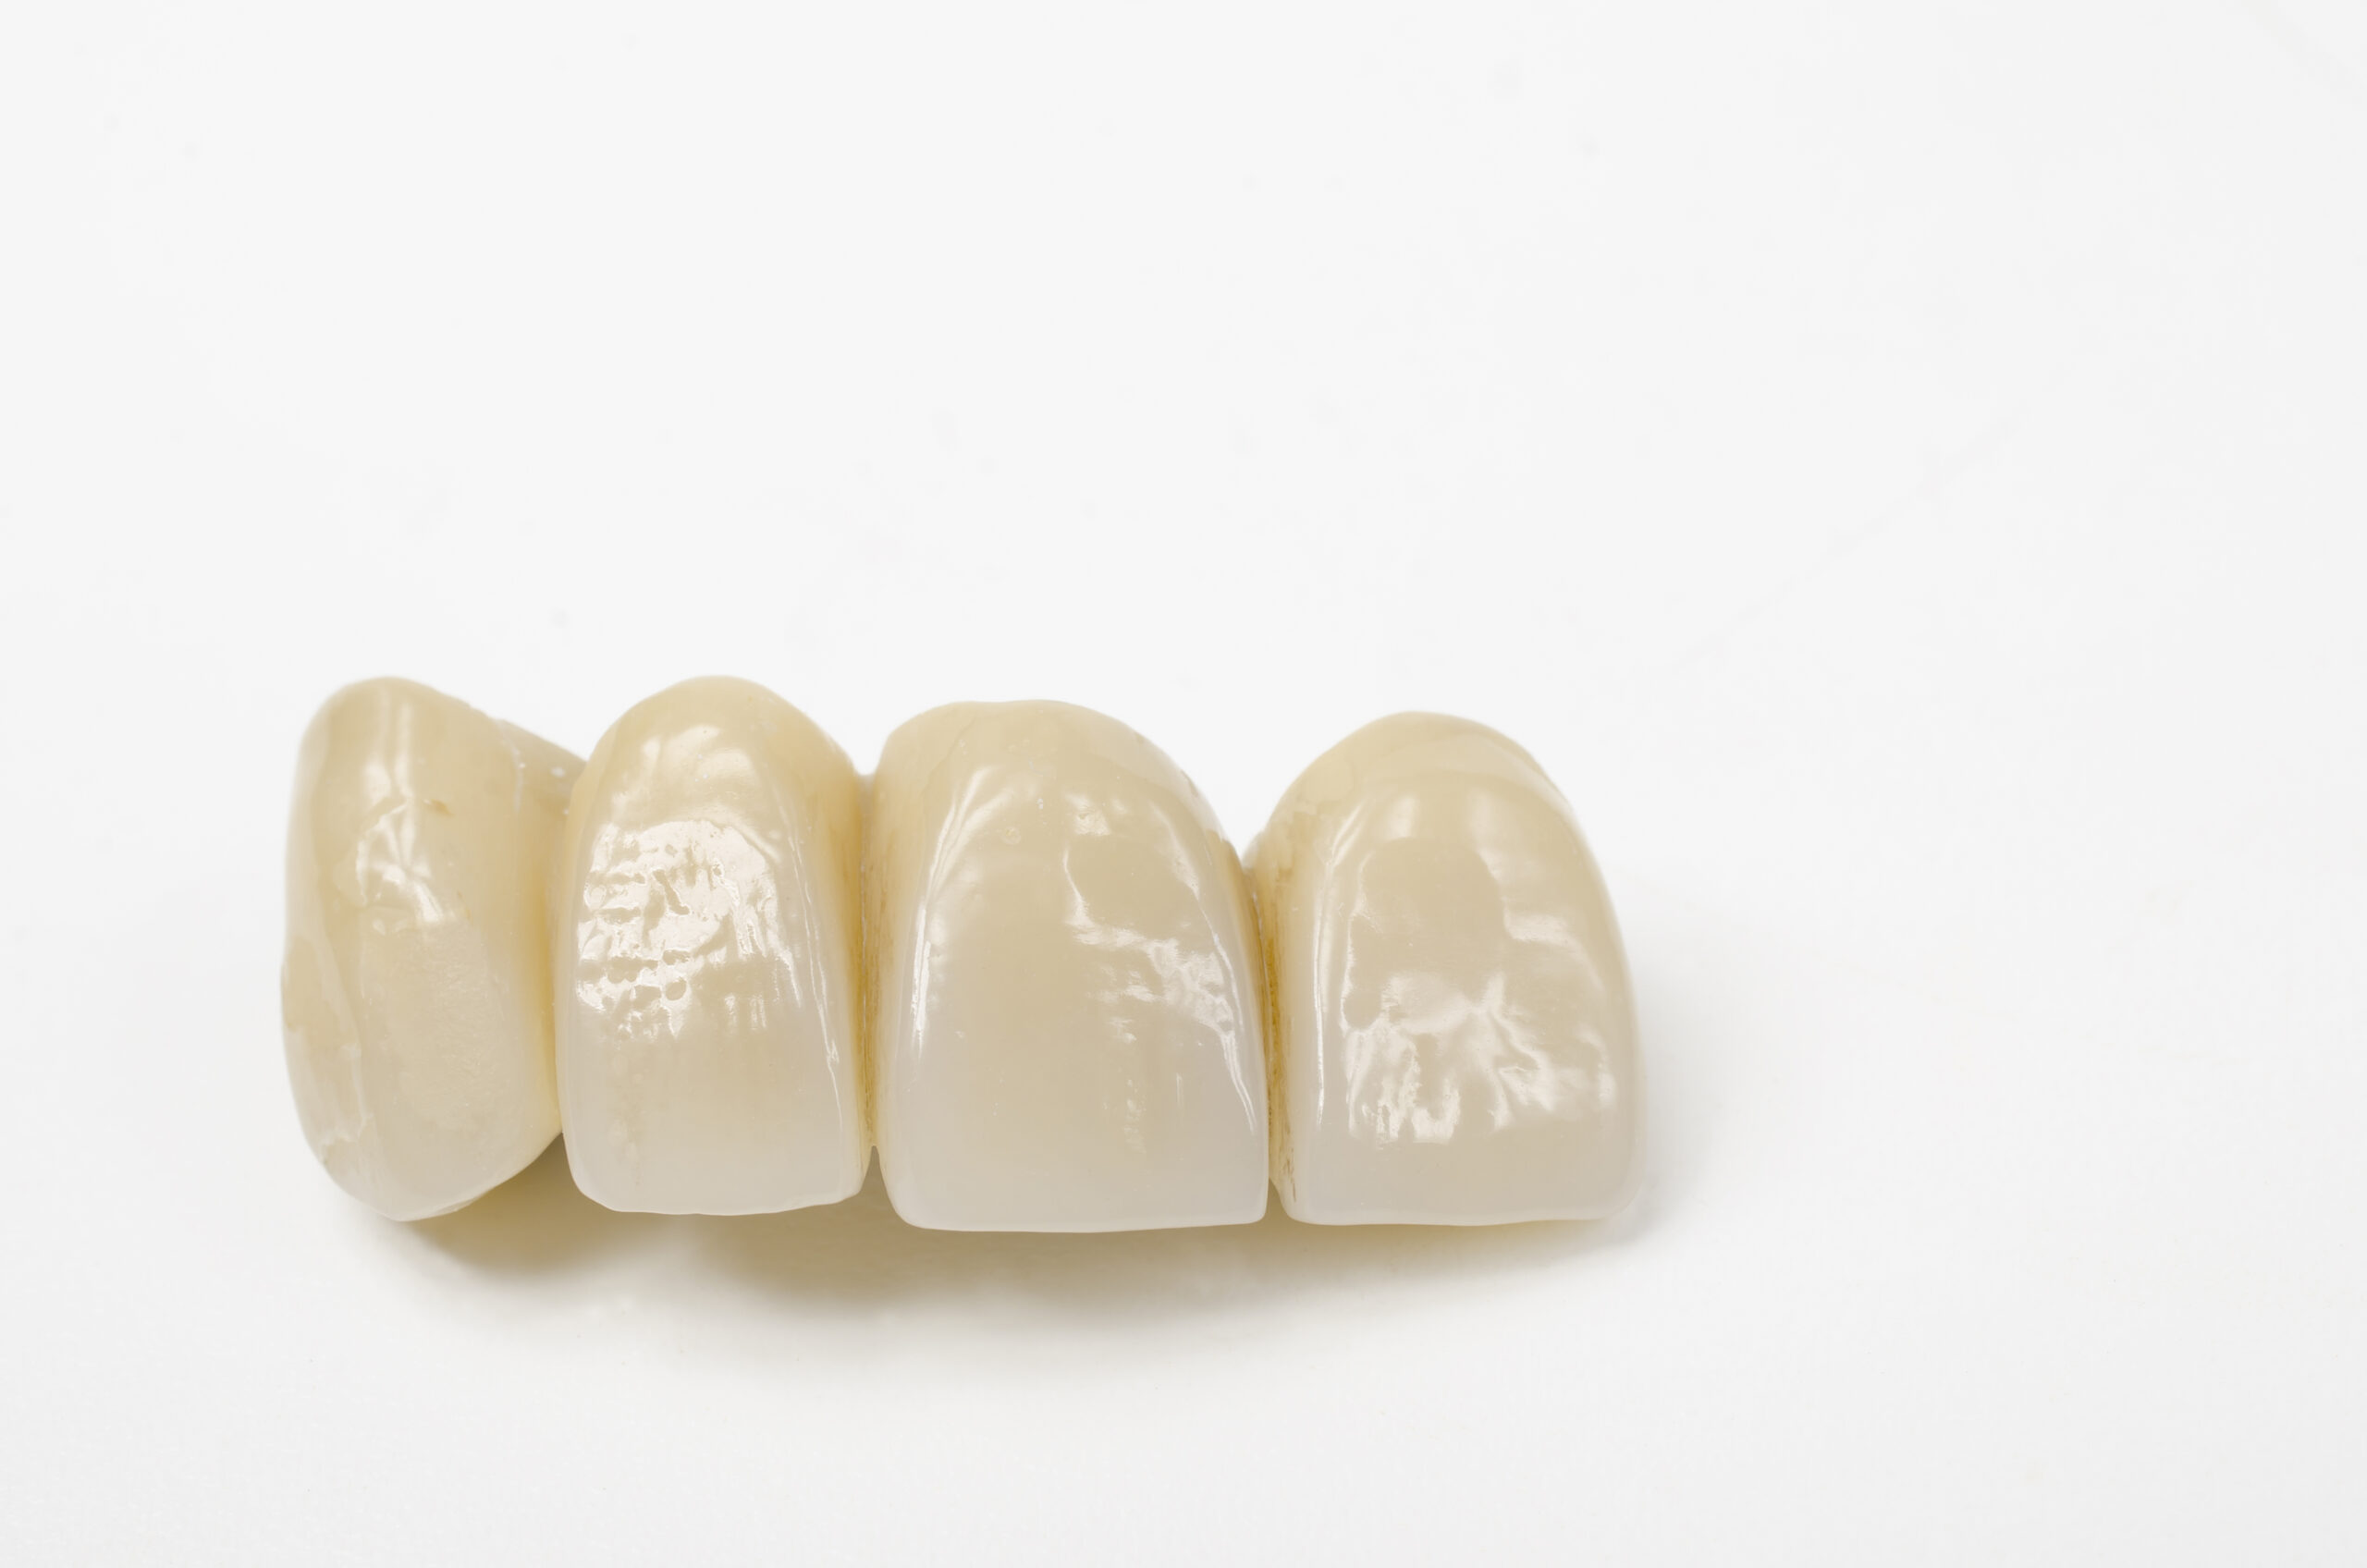
- If the bar is in great shape, new denture teeth and a new denture base can be milled and placed over the existing titanium bar.
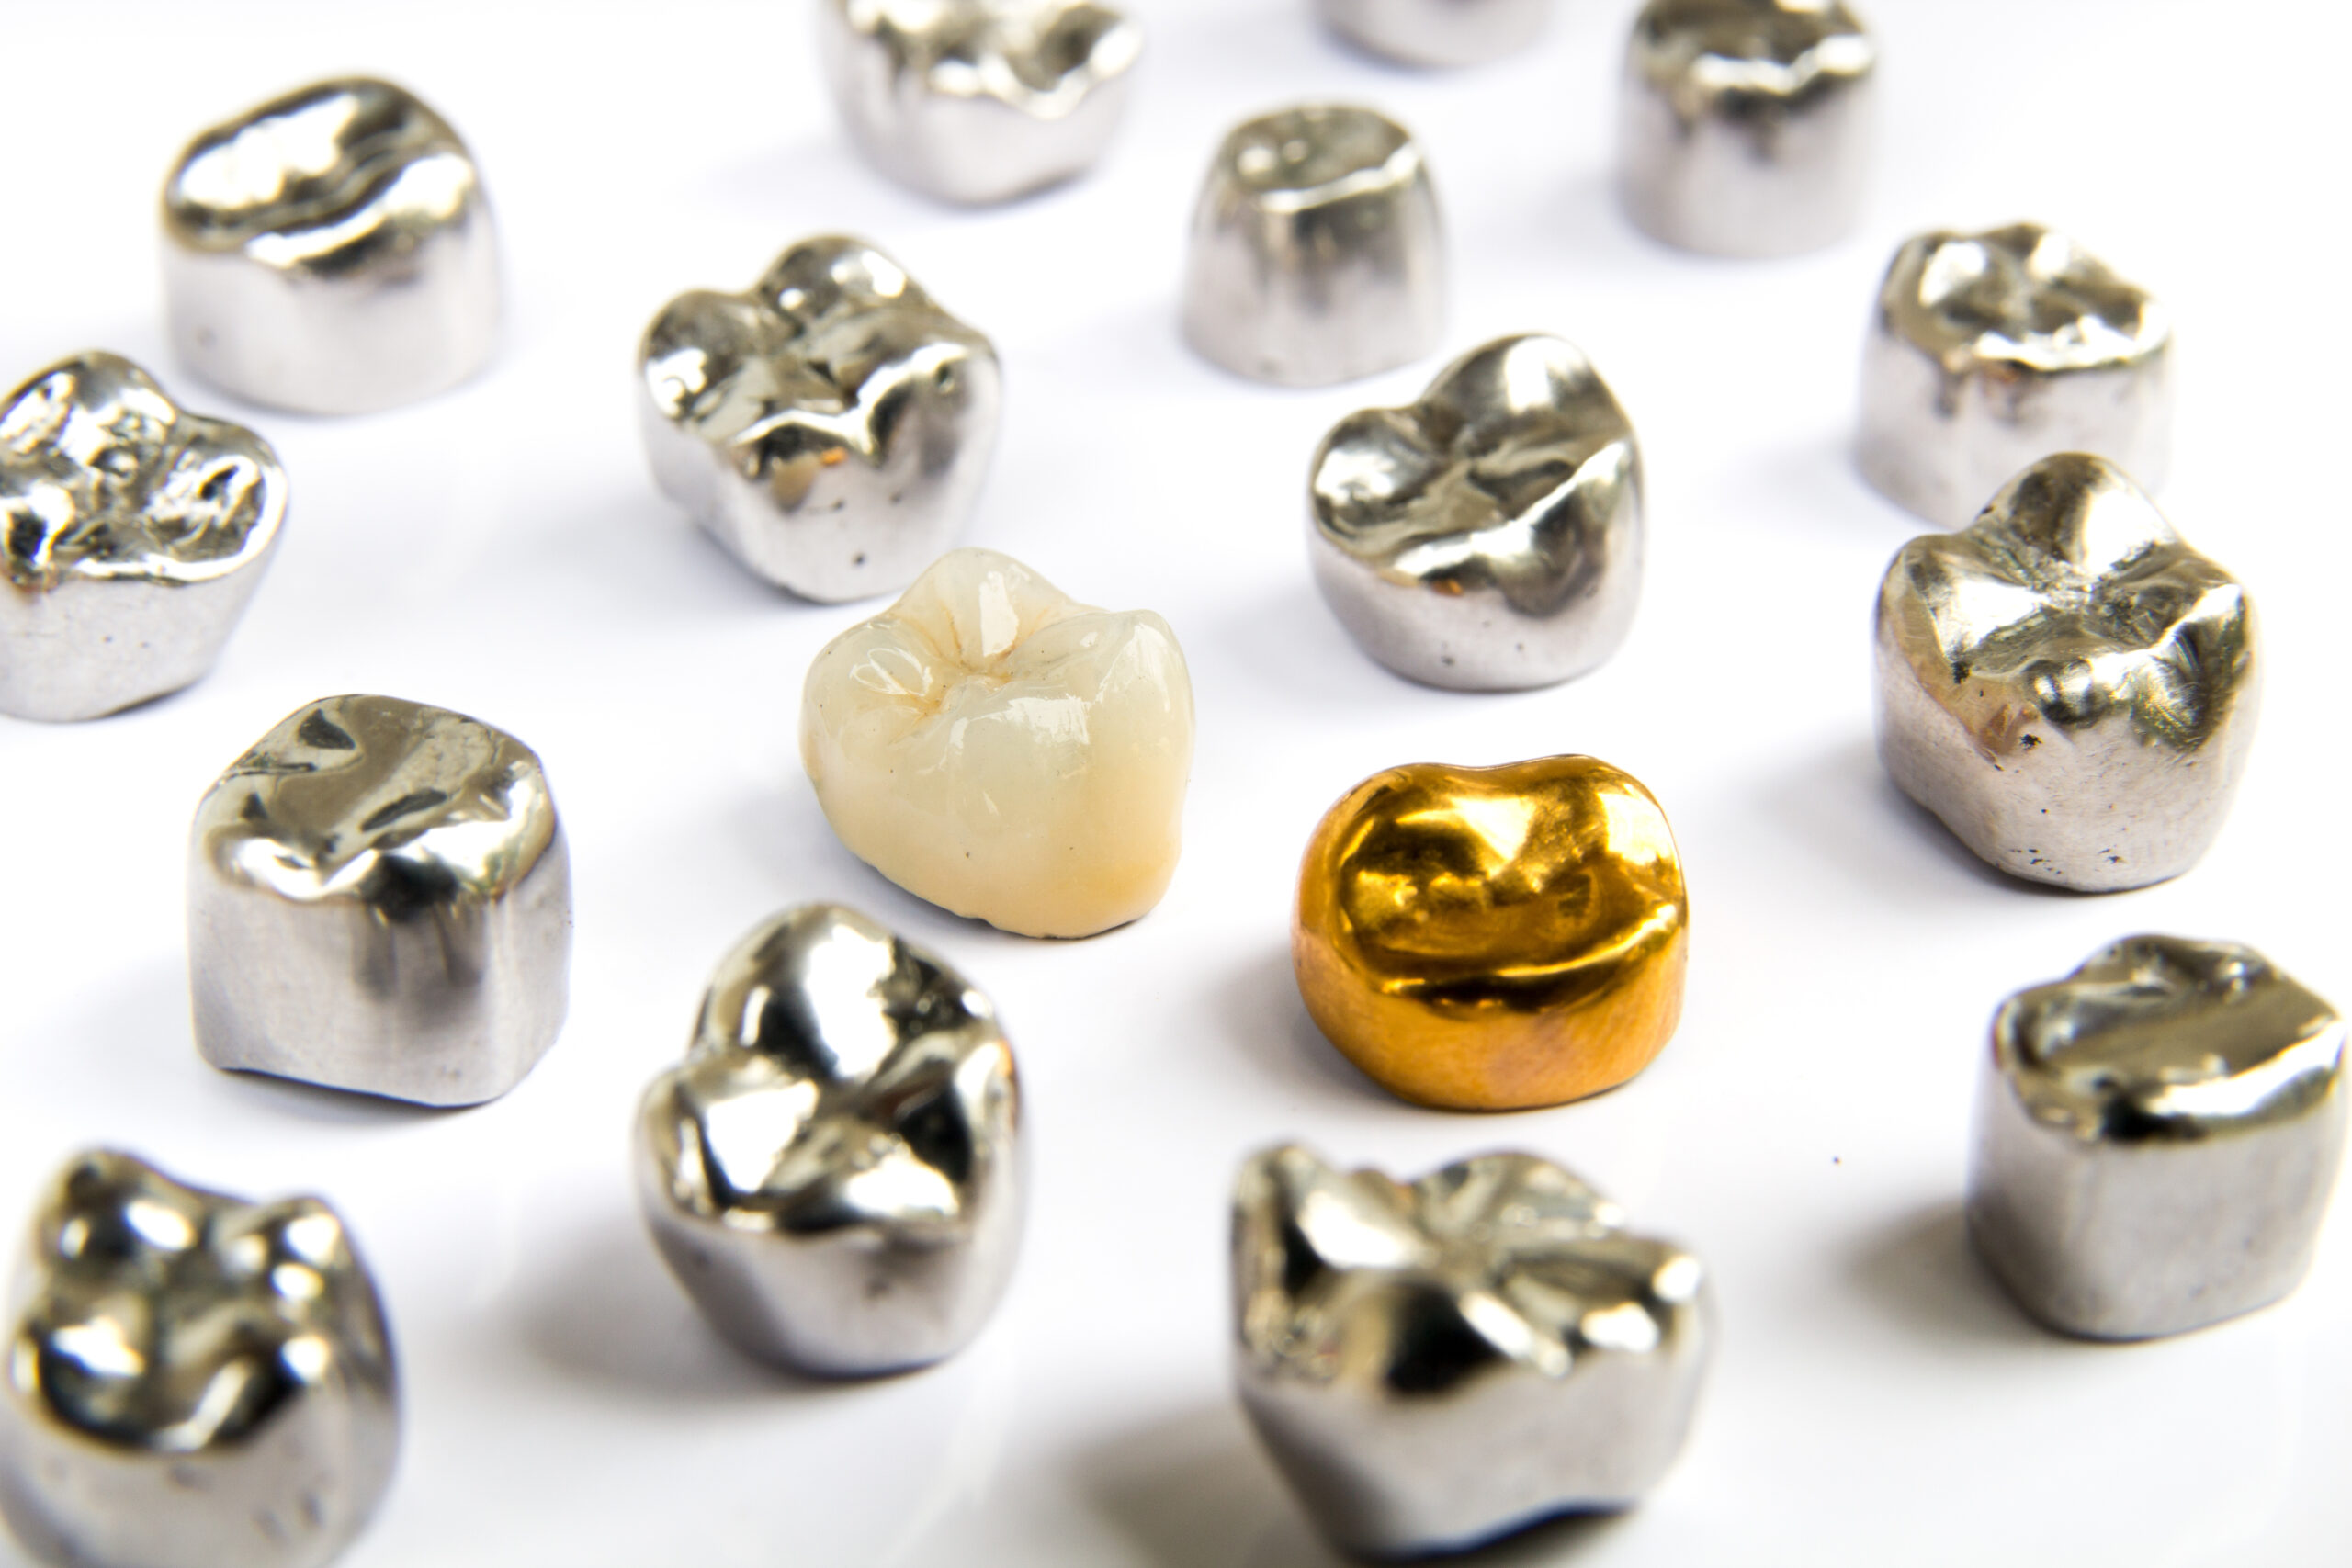
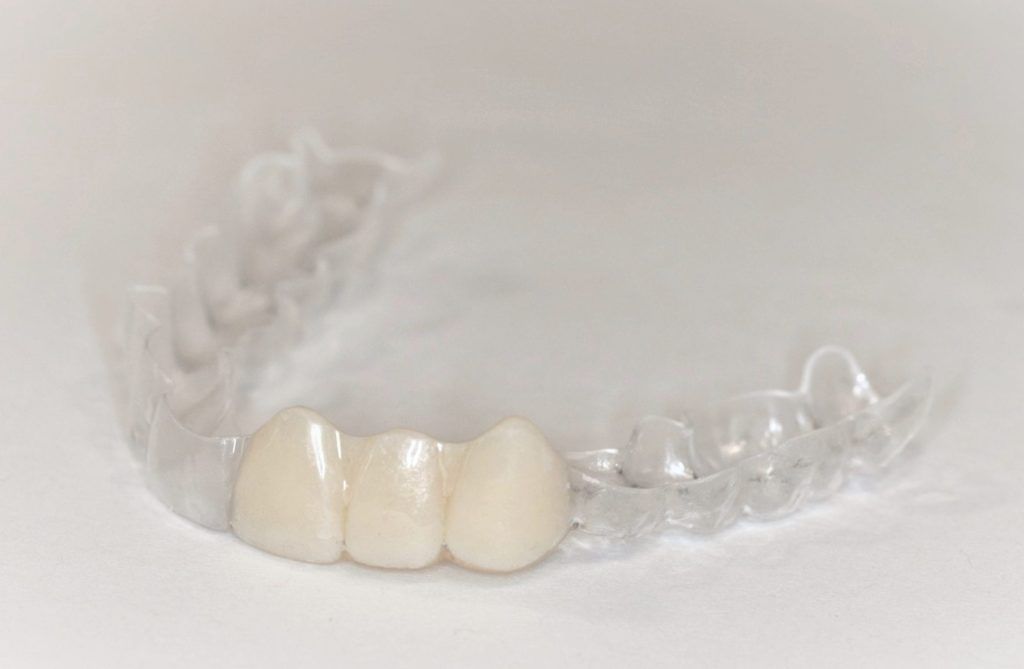
- Alternatively, we can get rid of the bar and go to something that is all zirconia.
If there is a preference for the first option, the first requirement is to make sure the titanium bar is in good condition. After 18 years, we would take it off and have the laboratory examine it under microscopy.
If converting to all-zirconia and the patient has had upper and lower dentures, we must consider if one arch can be converted without converting the second arch. A zirconia arch is going to wear an opposing original denture fast if there is parafunction, and the zirconia arch is likely to fracture the opposing original prosthetic teeth.
We have options today we can think about with our patients, but many have in their minds that when they got their hybrid dentures years ago, the dentures would last. All the time, energy, and dollars to freshen up or replace their denture is a big deal to them. Shifting their mindset from “I thought I was done investing in dentistry” to “My denture is at the end of its lifespan” is a big hurdle. So, the earlier we can start those conversations before they need to invest, the easier they can transition their minds to accept care with grace when the time comes.
When your bar retained hybrid denture patients visit for perio maintenance and your exams, inform them of the lifespan of their denture is at most 20 years and set expectations for discussing the best available options at some point in the future.


Related Course

Surgically Facilitated Orthodontic Therapy
DATE: October 10 2024 @ 8:00 pm - October 10 2024 @ 9:00 pmLocation: Online
CE HOURS: 1
Date: October 10, 2024 Time: 8 – 9 pm ET Speaker: George Mandelaris, DDS, MS COURSE DESCRIPION Patients seeking ideal esthetics may require a more sophisticated diagnosis and treatment plan…
Learn More>Related Article

About Author
Dr. Lee Ann Brady is passionate about dentistry, her family and making a difference. She is a general dentist and owns a practice in Glendale, AZ limited to restorative dentistry. Lee’s passion for dental education began as a CE junkie herself, pursuing lots of advanced continuing education focused on Restorative and Occlusion. In 2005, she became a full time resident faculty member for The Pankey Institute, and was promoted to Clinical Director in 2006. Lee joined Spear Education as Executive VP of Education in the fall of 2008 to teach and coordinate the educational curriculum. In June of 2011, she left Spear Education, founded leeannbrady.com and joined the dental practice she now owns as an associate. Today, she teaches at dental meetings and study clubs both nationally and internationally, continues to write for dental journals and her website, sits on the editorial board of the Journal of Cosmetic Dentistry, Inside Dentistry and DentalTown Magazines and is the Director of Education for The Pankey Institute.